
Recently, I worked on a project that required parsing a structured PDF and importing the results into a Dataverse table. Using AI builder and Power Automate, this is a straightforward process. However, there are instances when the AI builder either misinterprets the processing or fails to retrieve the information. As a result, I needed to incorporate error handling for any mishaps and allow for human validation.
The final product is a MDA with a custom intake page, an embedded canvas app within the form for PDF viewing, and a validation button in the ribbon.
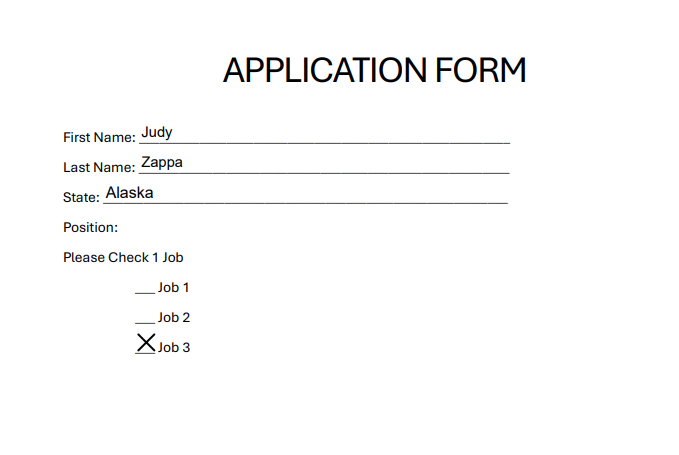
To demonstrate how this works, we'll create a PDF document containing strings and tables, which covers most of the AI builder's usage. The Dataverse table will combine string, choice, Boolean, and lookup columns.
The data structure will be as follows
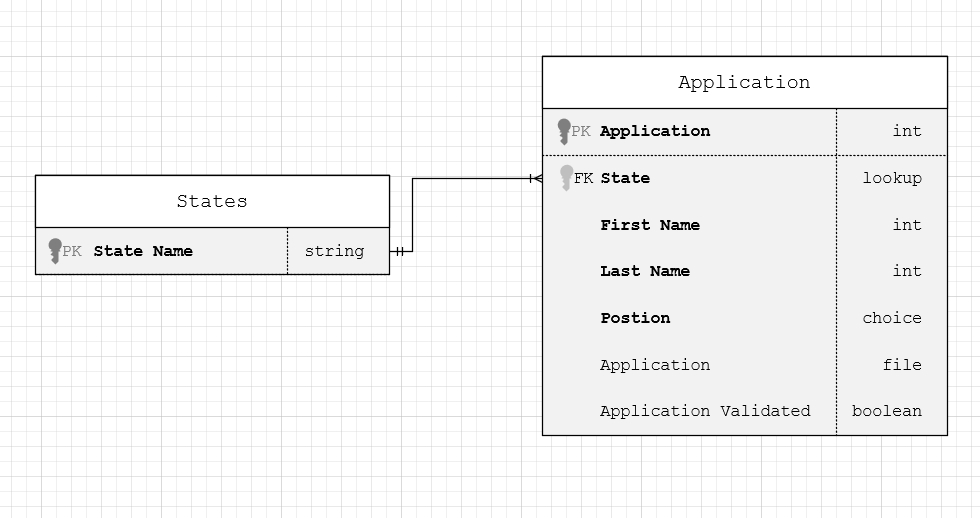
💡 Note: The file will be uploaded to the Dataverse table, but only temporarily.
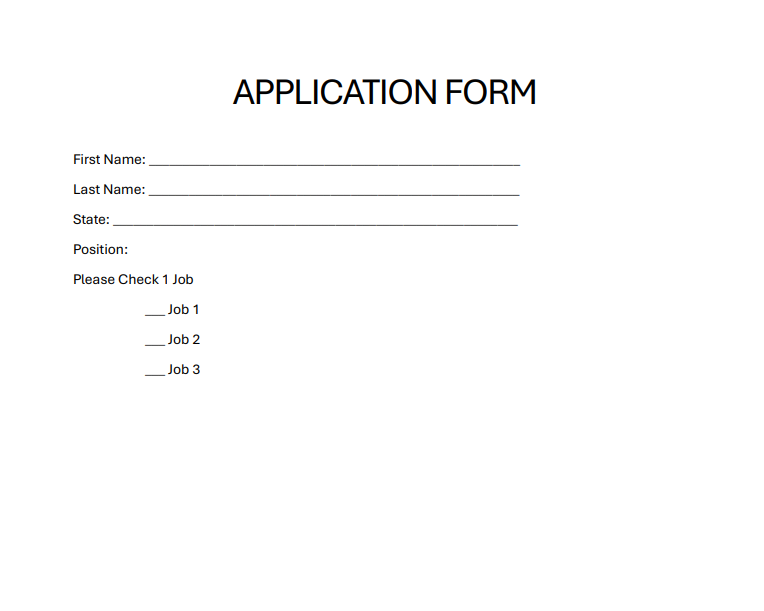
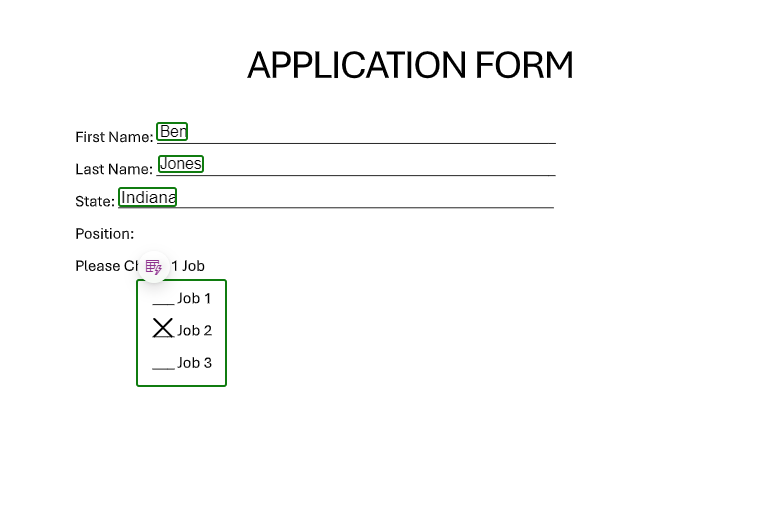
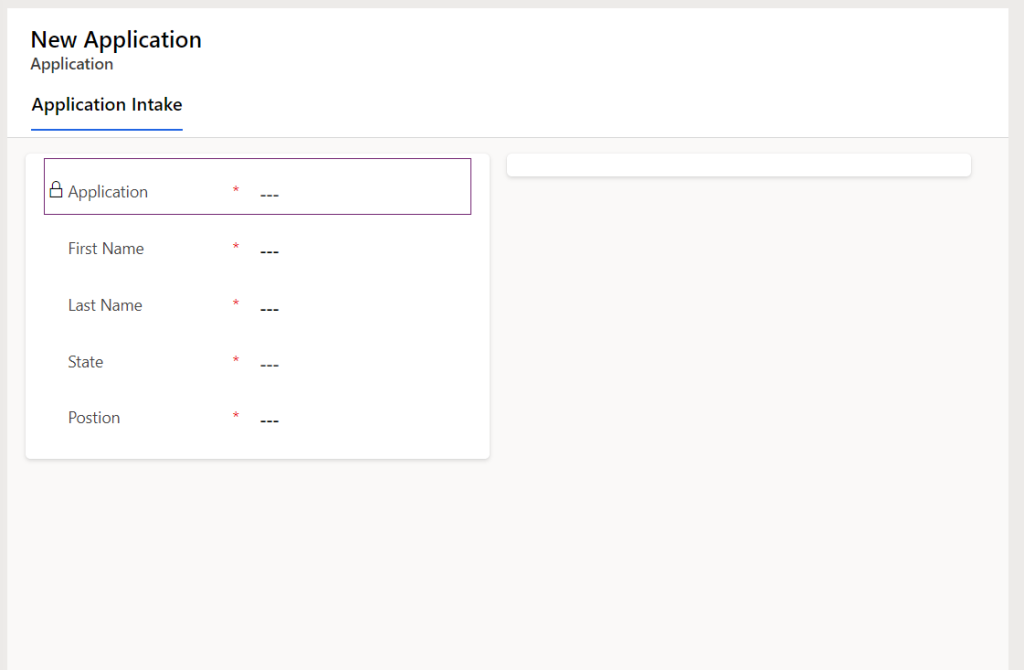
The goal is to create a record in the application table the gets the applicants Name, Position they want, and what state they are from.
The Form will look like this
Building the Document Processing model
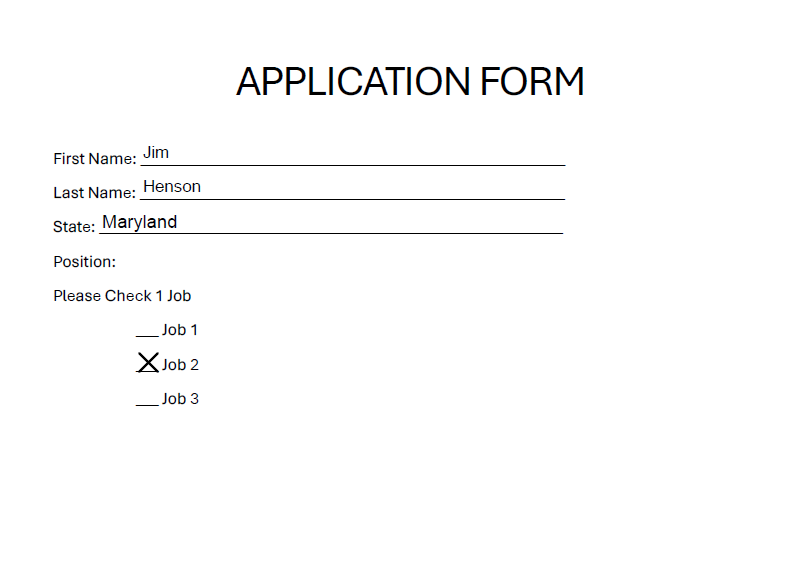
The first step in this will be to create a document processing model. I have created 10 versions of the pdf to train model. Each version will have a different name, state, and job.
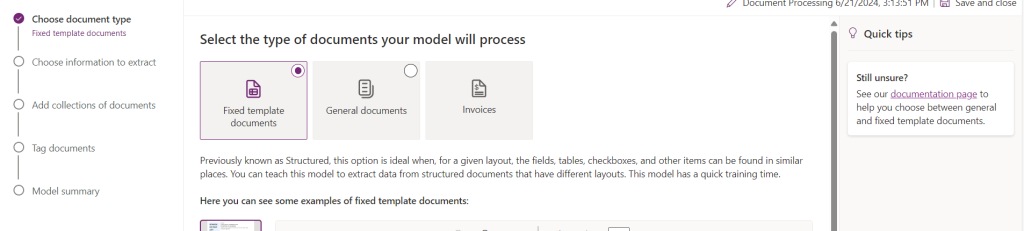
From Power Apps, select AI models and create a new “Extract custom information from documents” model.
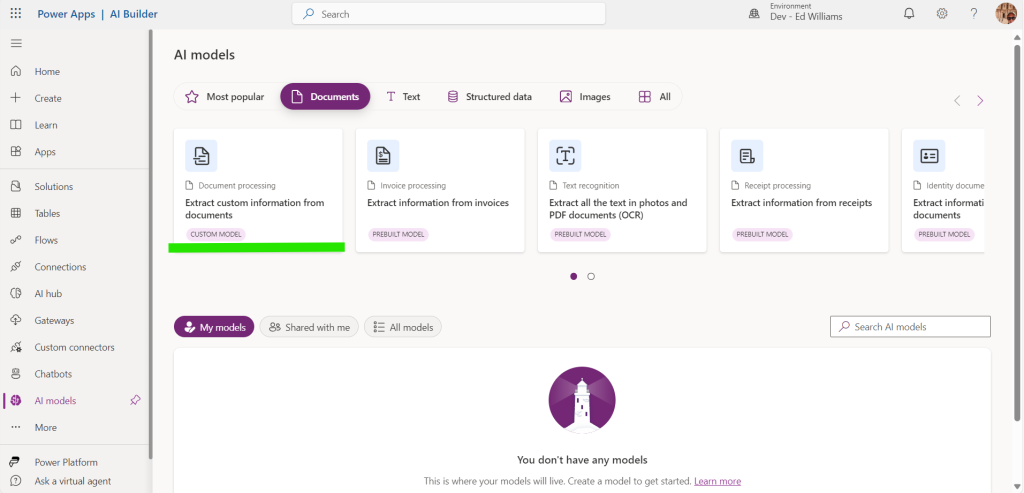
The document type will be fixed template
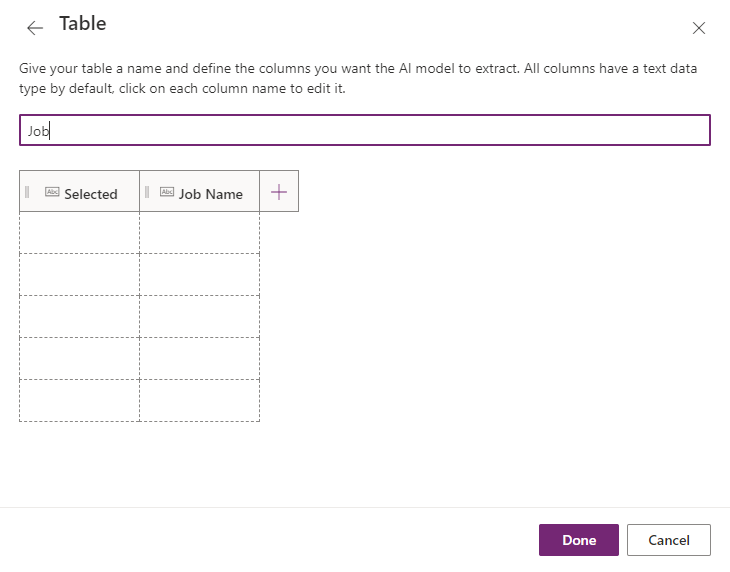
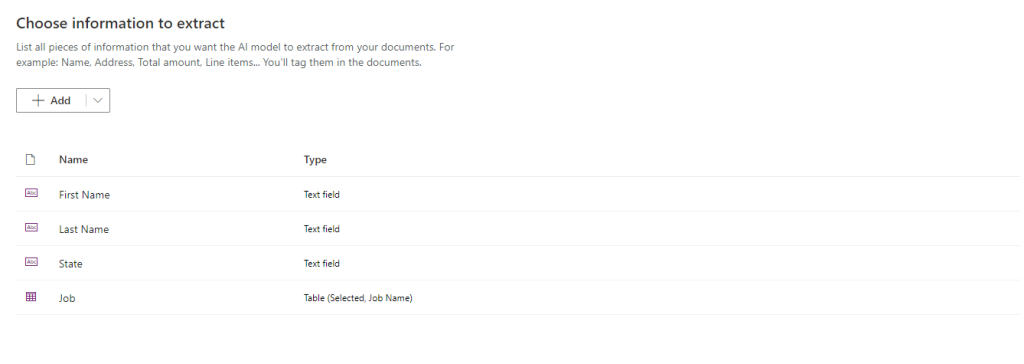
For the information we will be extract three text fields and one table
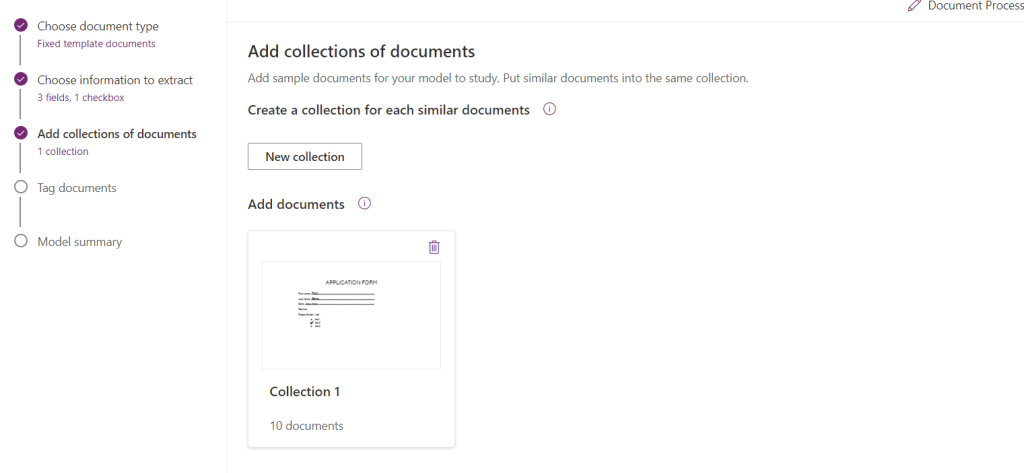
Next will be creating a new collection with all ten documents created earlier
Next we will go through and tag each document with the appropriate fields

We now have a model ready to be used
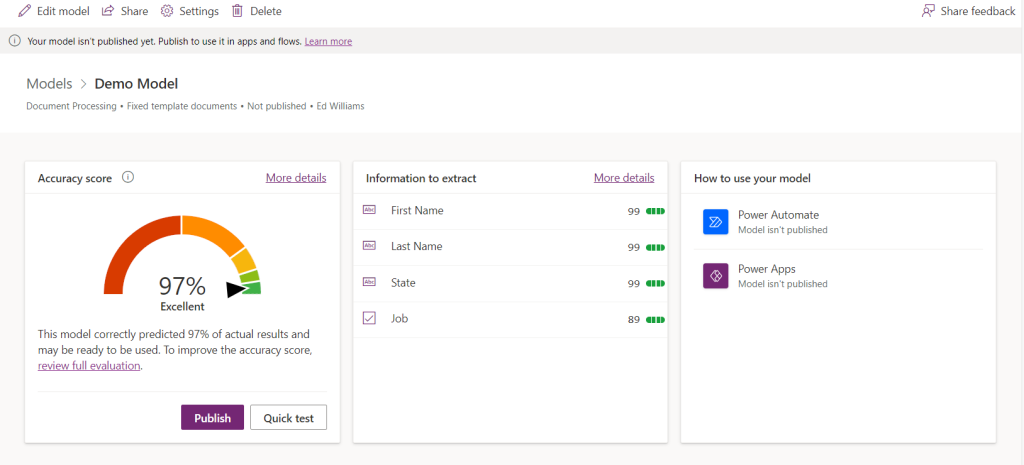
Select Publish to make the model available for use in Apps and Automate
Table Buildout
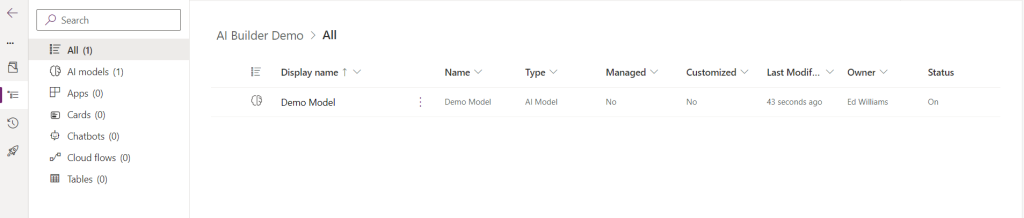
From Power Apps create a new solution and add the AI model created above
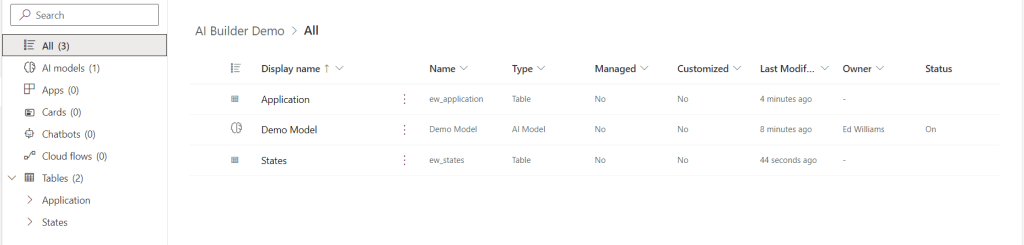
Create the two tables (Application and States) from above
💡 For the Positions column I have added all tree jobs and a fourth Called Processing. This will be used while the model is running and if the model fails to find the job
For the Application Table edit the main form as follows
The second column will be used in the future to show the application that came in
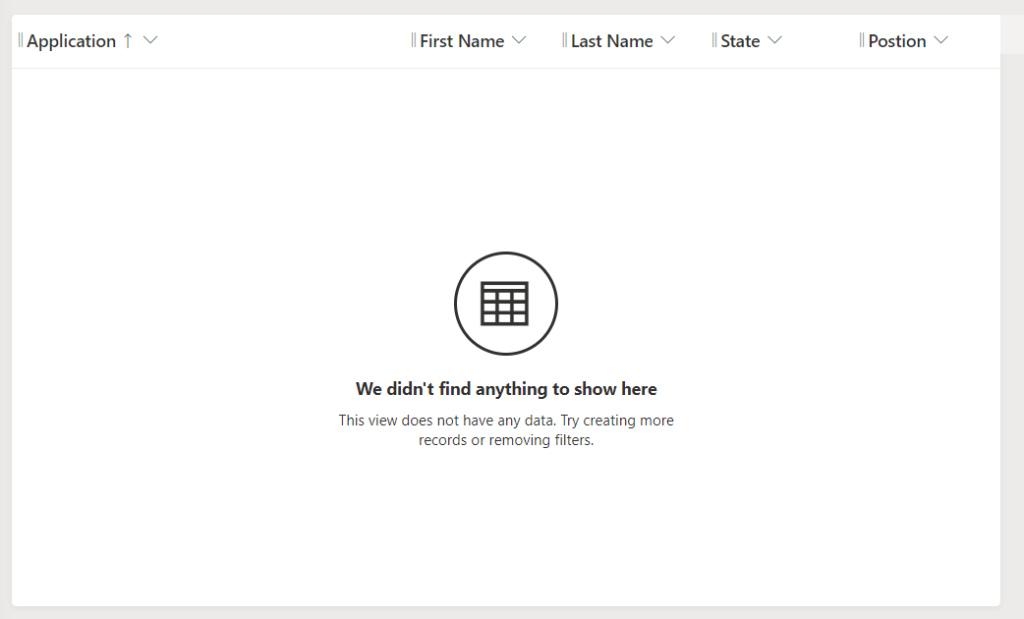
Update the main view as follows
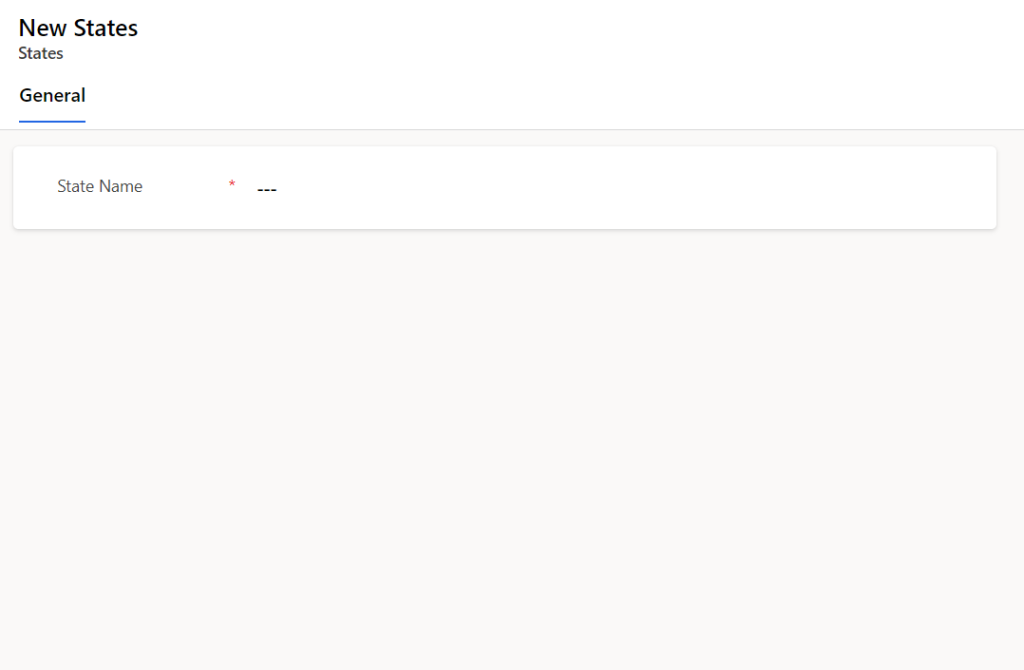
Update the state main form as follows
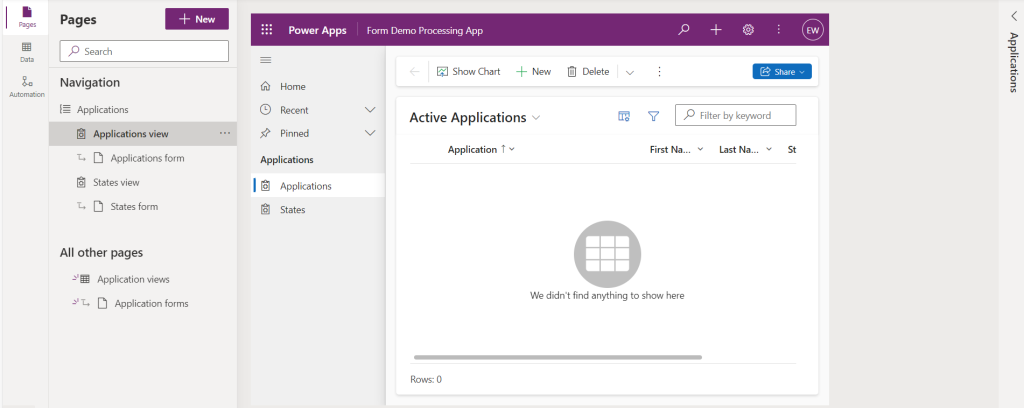
Model Driven App
We will create a new MDA with the two new tables
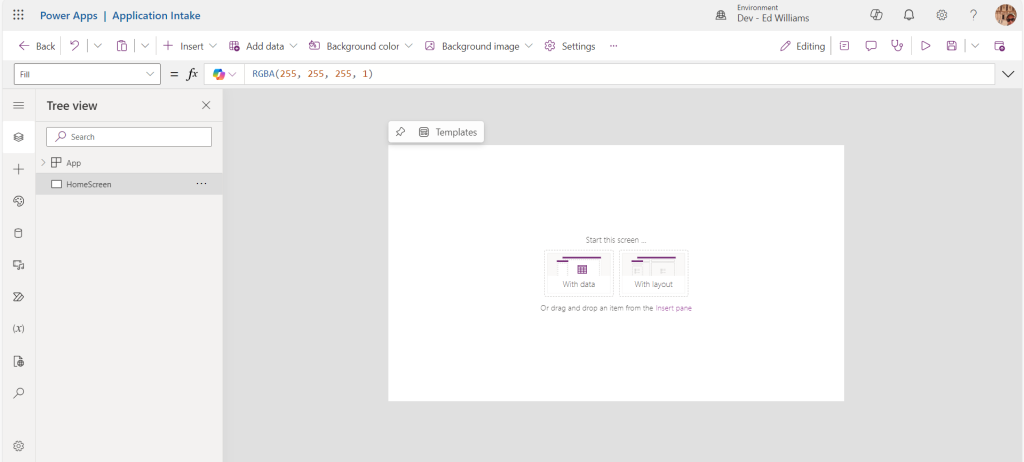
Custom Page
Next we will add a custom page that will import the pdf
The first step will be to add the Applications table as the datasource

This is the end state UI for the custom page, we will be be enabling modern controls, adding containers, headers, a spinner, label, timer, and a document upload feature.
Containers
There will be a total of four container, the Main container, the header container, the body container and the buttons container
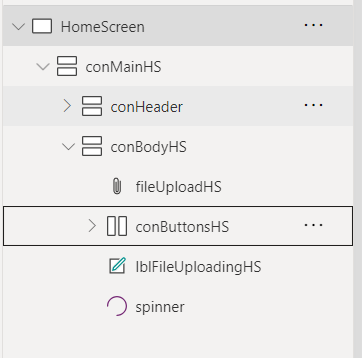
Attachment Control
The Attachment control can be added by creating a form from the Dataverse table then copying it out of the form into the Body container
Header
The header uses the new modern header control, the only change I made was the text used for the Title.
Buttons
There are two buttons within the button container. The Clear and the Submit
For each of the buttons i have set the Disabled to count if the attachemnt control is empty
If(CountRows(fileUploadHS.Attachments) = 0,DisplayMode.Disabled,DisplayMode.Edit)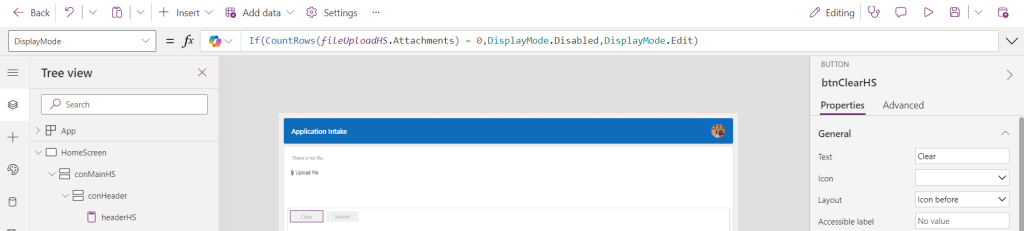
The OnSelect of the Clear will be set to clear the attachment control
Reset(fileUploadHS)The OnSelect of the submit is the workhorse of the application and we will dive deeper into it after the UI
Spinner and Label
The Spiner and the label are added within the body container with the visibility for each set to “conSpinner”. A context variable we will set later. The labels text is set to "File is Uploading”.
Submitting the application
For the OnSelect of the Submit button we will need to complete a series of tasks, I am going to break down each part of to make sure its understood
The first part of the code uses the With command to create a variable to be passed throughout the action. Next part sends a notification to the user that the application is being processed. The last part updates the context variable conSpinner to true.
With(
    {ProcessingCommand: "In Processing"},
    //Notify the user to not move the screen
    Notify(
        "Document is processing, please do not navigate away",
        NotificationType.Warning
    );
    UpdateContext({conSpinner: true});

)
The next part we will need to convert the pdf to a base 64 so we can attach it to the record as a note. To do this we will need to create a Power Automate flow and run it in the OnSelect.
Convert pdf to base 64
Create a new blank flow within the App. The flow will consist of three step. The trigger with the file name and file content, a compose to do the conversion, then a response to the app that called it.
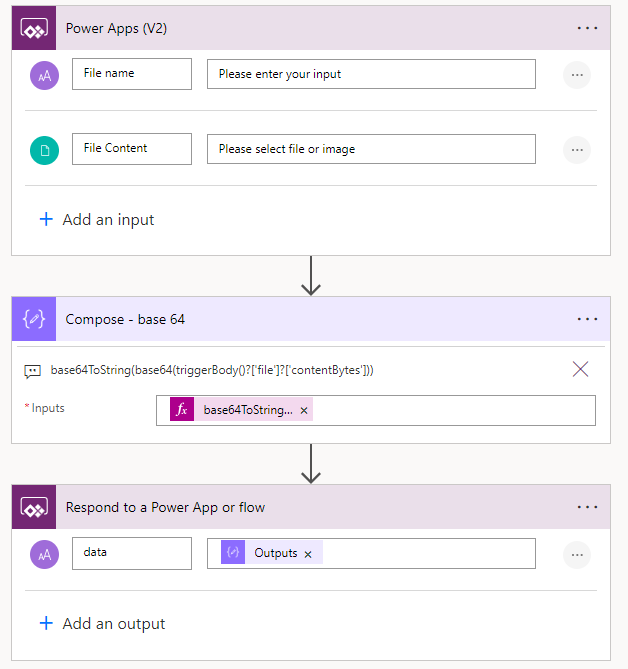
The conversion code is as follows
base64ToString(base64(triggerBody()?['file']?['contentBytes']))Within in a concurrent we will set a variable “varData” with the output of the flow.
//Convert the document for the note
Concurrent(
        Set(
            varData,
            'AppIntake1.1-Converttobase64'.Run(
                First(fileUploadHS.Attachments).Name,
                {
                    file: {
                        contentBytes: First(fileUploadHS.Attachments).Value,
                        name: First(fileUploadHS.Attachments).Name
                    }
                }
            ).data
        ),
//End convert document
Creating the record
Within the same concurrent we will create the record in the table and set the first and last name to “Processing”. This will help in the event that somebody goes to the MDA before the record is done processing, or if model fails to get the information.
//Create the record
        Set(
            varApplication,
            Patch(
                Applications,
                Defaults(Applications),
                {
                    'First Name': ProcessingCommand,
                    'Last Name': ProcessingCommand,
                    Postion:'Postion (Applications)'.Processing
                }
            )
        )
//End Create record
Creating Variables and uploading file to Dataverse
The next block of code will have us creating two variables “varRecordGUID” and “varAppID”. These will be used later in the function and simply use the existing varApplication and splits it out into two other variables. While not truly needed, I like it so I can keep it straight. The other part of this block is the uploading of the pdf into Dataverse. This file will be uploaded so that we can then extract it for processing by our model we created earlier. After the processing, it will be removed.
Concurrent(
//Creating Variables
        Set(
            varRecordGUID,
            varApplication.'Application (ew_applicationid)'
        ),
        Set(
            varAppID,
            varApplication.'Application (ew_application)'
        ),
//End Creating Variabes
//Add the document to the Application Record
        Patch(
            Applications,
            varApplication,
            {
                'Application File': {
                    FileName: First(fileUploadHS.Attachments).Name,
                    Value: First(fileUploadHS.Attachments).Value
                }
            }
        )
        //End Adding the document to the Application Record
    );
Adding the Note
Next we will need to add the Notes table as a data source and create the Note
Set(
            varNote,
            Patch(
                Notes,
                Defaults(Notes),
                {
                    Title: "Application File",
                    Description: "Application File Uploaded by User",
                    'Is Document': 'Is Document (Notes)'.Yes,
                    'File Name': First(fileUploadHS.Attachments).Name,
                    Document: varData
                }
            )
        );
    );
💡 Note: Adding the Note and uploading the file to Dataverse are all within the same Concurrent.
Updating Note mime type and relating the note to the record
An annoying part of creating the notes is that the mime is always wrong. Even if you set it with the patch it is wrong. So we need to run another command to go back and update it. Within another (and final) Concurrent, we will update the mime type to pdf. At the same time we will relate the previously created Note and the Application.
Concurrent(
        Relate(
            varApplication.Notes,
            Patch(
                Notes,
                varNote,
                {'Mime Type': "application/pdf"}
            )
        ),
💡 Note: If you can not access the Notes from varApplication that means you need to enable Notes and Attachments for the table
Closing the function
Next we will need to submit the document for processing, but this is a more in depth process so we will skip it while we close out the rest of the function.
The last part will have us resting the attachment control, sending a notification to the user, and turning the label and spinner off.
//Submit the document for processing
        Reset(fileUploadHS);

//Let the user know the document is Uploaded
Notify(
            "The Document has been uploaded for processing",
            NotificationType.Success
        );
        UpdateContext({conSpinner: false});
    );

)
Submitting the file for processing
To submit the file for processing, we will need to build two flows. One to accept the submission, and one to do the parsing. I like to split up flows that access models just incase there is an error with the processing. It will ensures that my credits are only being used once and not to re process errors.
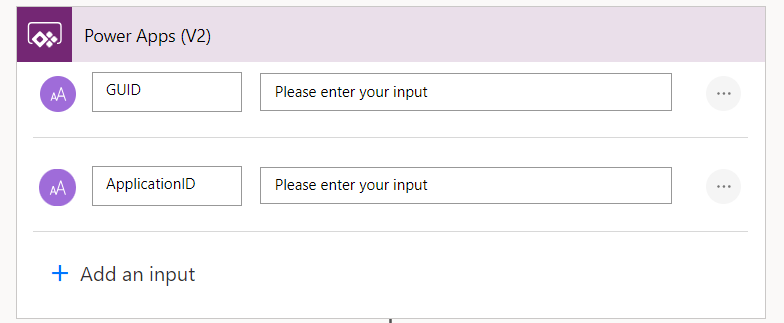
The trigger for the flow will be a Power App V2 that requests the GUID and the Application ID
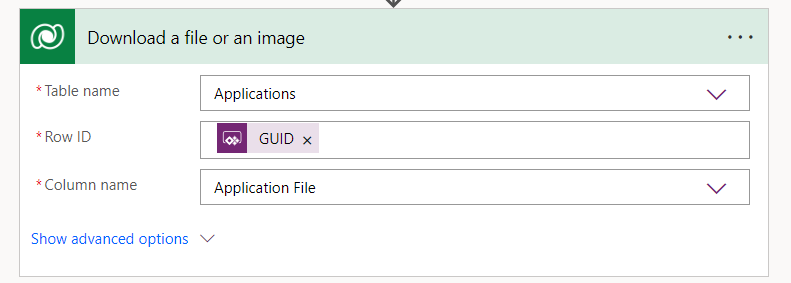
Next we will add in a Dataverse action to download the file
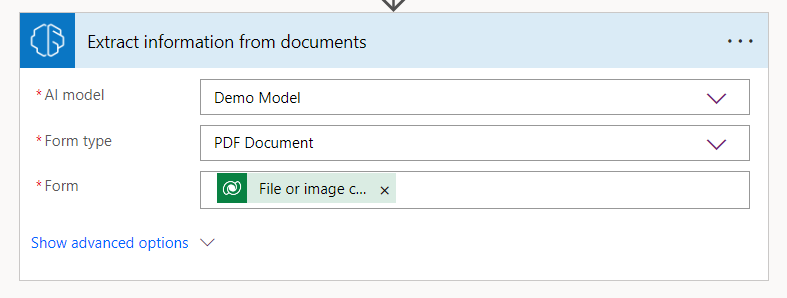
Next we will need to submit the file to be processed to the model
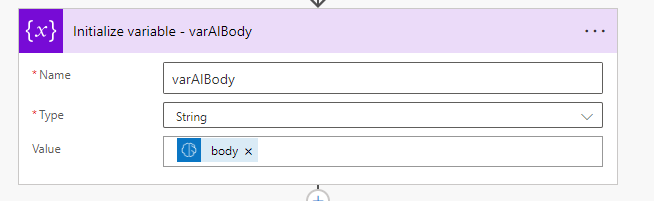
Then a variable for converting the body into a string is needed
Next we will need to create our child flow to do the processing of the file
Create a new instant flow with the following trigger
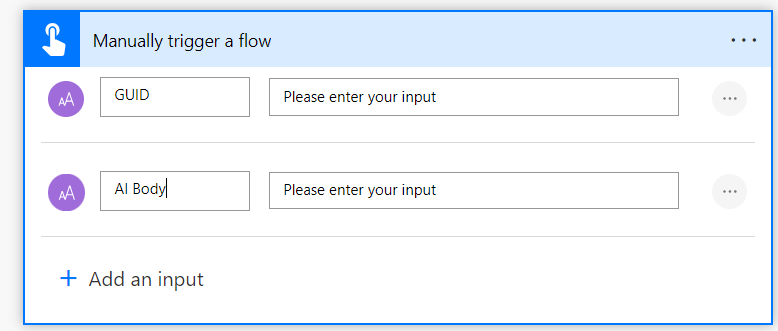
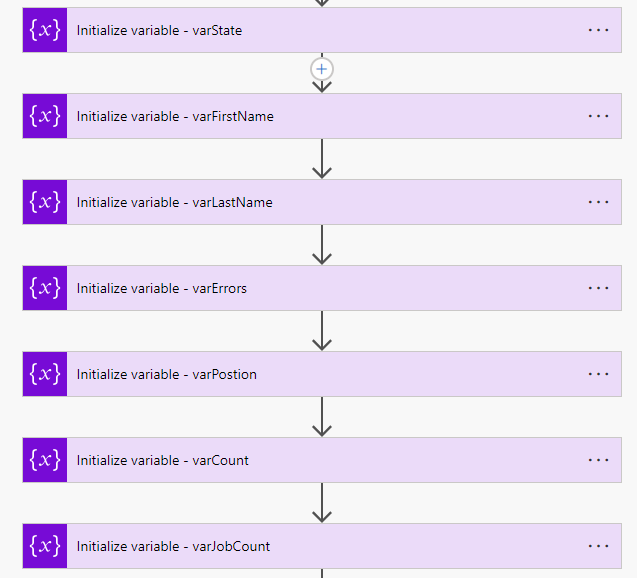
We will next create a few variables to store the output of the processing, the three will be type string. One array variable to store any errors we get from the model or lookups. Then three integer variables.
Next we will need to parse the output of the AI body, but to do this we will need to first compose it, then add the child flow to the parent flow, and finally add the parent flow to the custom page.
I first added a scope to the child flow and added the Compose of the AI body output
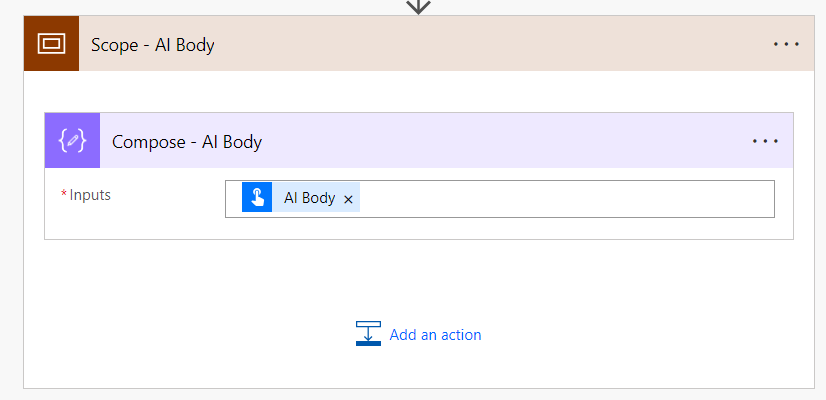
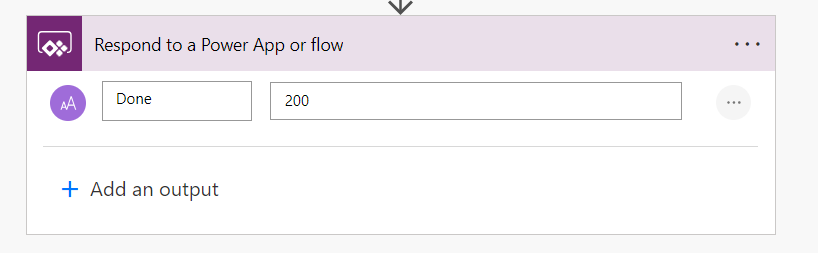
Then I added a response, the actual response is not needed, so I just send back a random string
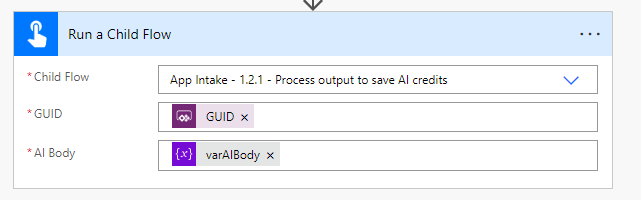
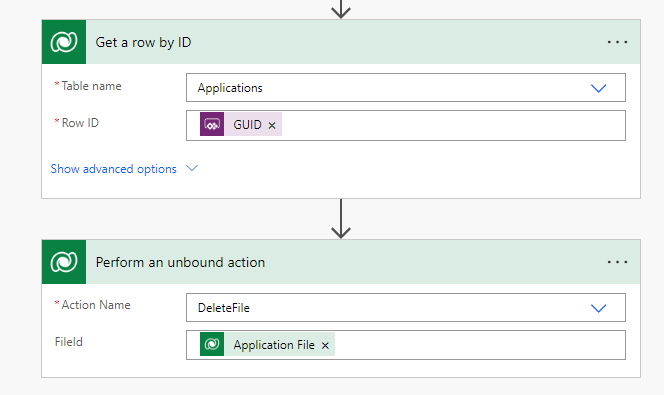
In the parent flow I will now call the child flow and pass the GUID and the AI body, then add two Dataverse actions. One to get the row by the ID and one to delete the file from Dataverse using an unbound action
Back in the page and the OnSelect of the submit button, we can now add in the final flow
'AppIntake-1.2-SubmitDocumentforprocessing'.Run(
            varRecordGUID,
            varAppID
        );
The complete OnSelect is now
With(
{ProcessingCommand: "In Processing"},
//Notify the user to not move the screen
Notify(
"Document is processing, please do not navigate away",
NotificationType.Warning
);
UpdateContext({conSpinner: true});
//Convert the document for the note
Concurrent(
Set(
varData,
'AppIntake1.1-Converttobase64'.Run(
First(fileUploadHS.Attachments).Name,
{
file: {
contentBytes: First(fileUploadHS.Attachments).Value,
name: First(fileUploadHS.Attachments).Name
}
}
).data
),
//End convert document
//Create the record
Set(
varApplication,
Patch(
Applications,
Defaults(Applications),
{
'First Name': ProcessingCommand,
'Last Name': ProcessingCommand,
Postion: 'Postion (Applications)'.Processing
}
)
)
//End Create record
);
//End Convert the document for the note
Concurrent(
//Creating Variables
Set(
varRecordGUID,
varApplication.'Application (ew_applicationid)'
),
Set(
varAppID,
varApplication.'Application (ew_application)'
),
//End Creating Variabes
//Add the document to the Application Record
Patch(
Applications,
varApplication,
{
'Application File': {
FileName: First(fileUploadHS.Attachments).Name,
Value: First(fileUploadHS.Attachments).Value
}
}
),
//End Adding the document to the Application Record
Set(
varNote,
Patch(
Notes,
Defaults(Notes),
{
Title: "Application File",
Description: "Application File Uploaded by User",
'Is Document': 'Is Document (Notes)'.Yes,
'File Name': First(fileUploadHS.Attachments).Name,
Document: varData
}
)
);
);
//Releate the notes and the waiver table then update the mime type
Concurrent(
Relate(
varApplication.Notes,
Patch(
Notes,
varNote,
{'Mime Type': "application/pdf"}
)
),
//Submit the document for processing
'AppIntake-1.2-SubmitDocumentforprocessing'.Run(
varRecordGUID,
varAppID
);
Reset(fileUploadHS);
//Let the user know the document is Uploaded
Notify(
"The Document has been uploaded for processing",
NotificationType.Success
);
UpdateContext({conSpinner: false});
);
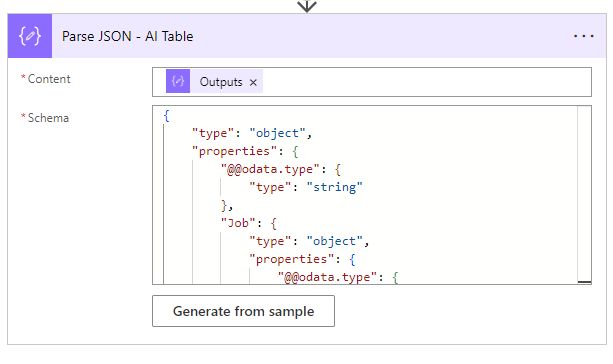
)From the MDA upload an application. Navigate back to the child flow and copy the AI body output. Then in the AI Body Scope replace the Compose with a Parse JSON action

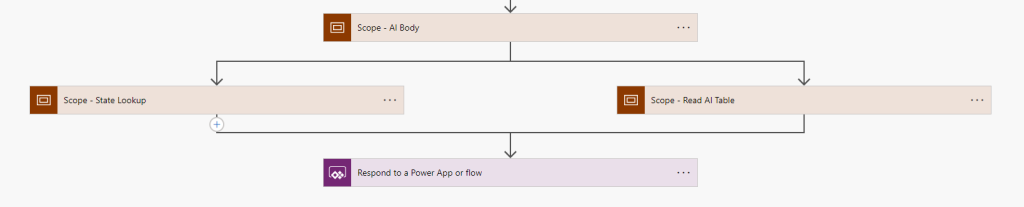
Add two scopes Under the AI body scope. One for looking up the State and one for Reading the AI table
Within the State Scope add a Set variable for the varState to be the State output of the ParseJSON
body('Parse_JSON')?['responsev2']?['predictionOutput']?['labels']?['State']?['value']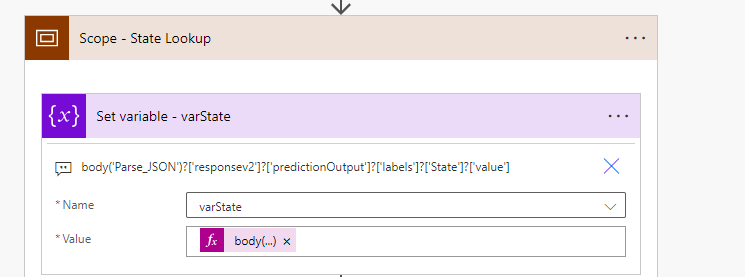
With the output of the State we can now lookup against the States Table in Dataverse
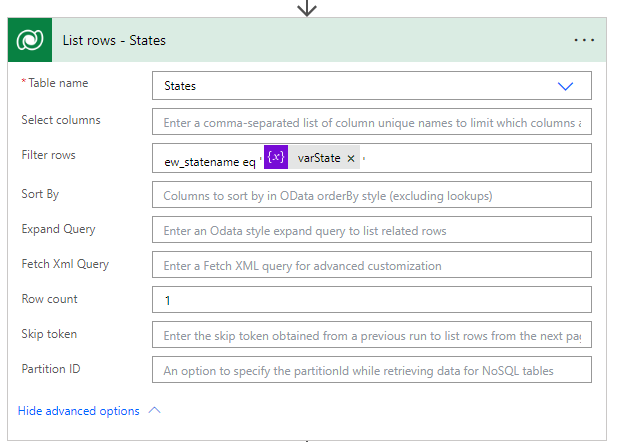
Then set the variable state to the ID of the state that is returned
outputs('List_rows_-_States')?['body/value']?[0]?['ew_statesid']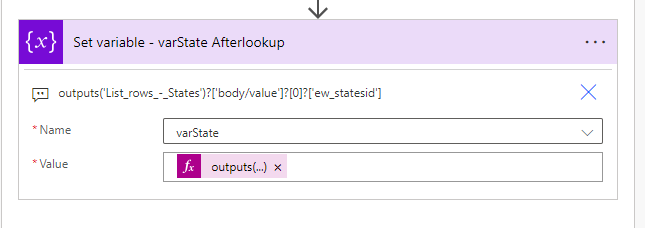
If there is an error in the lookup of the State we will appended the Error variable with where it happened and the value we received. The appended to array will set to only run if the lookup has failed
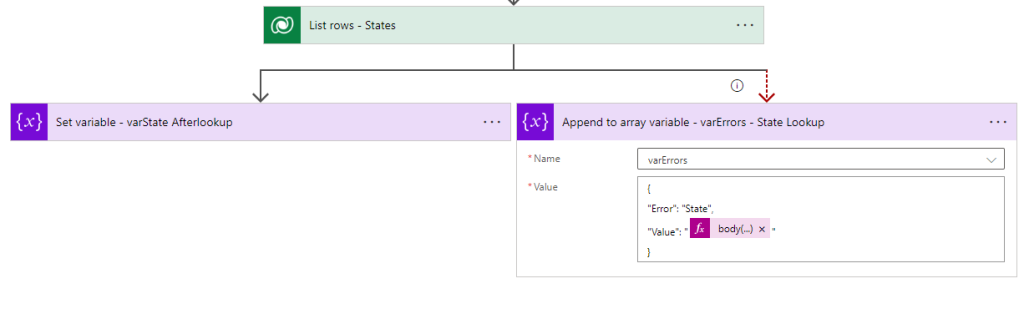
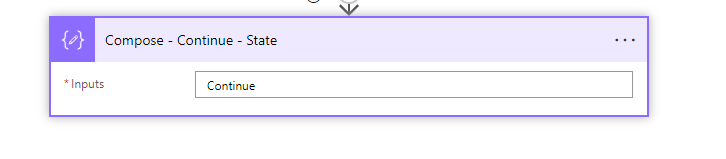
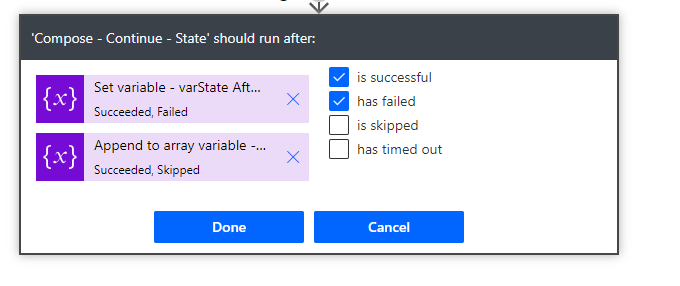
To keep the flow running I like to add a compose action after these two that has different conditions to run. If the Set variable succeeded or failed it will continue, if the appended succeeds or is skipped it will continue.
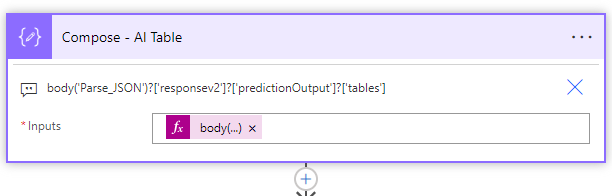
Within the Read AI tables Scope add a Compose with the table output of the Parse JSON. Then another parse JSON using the output of the compose
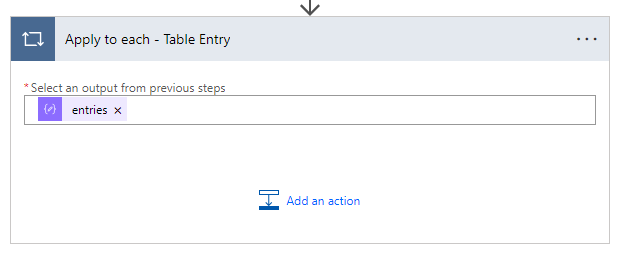
Add an apply to each for each table entry
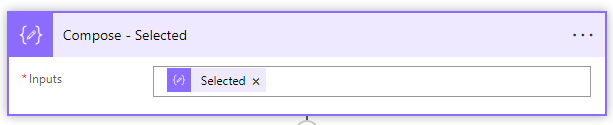
Then a compose of the selected job
Next an increment variable using the varCount variable

The next is a condition to evaluate if the value of the selected is not blank
items('Apply_to_each_-_Table_Entry')?['Selected']?['value']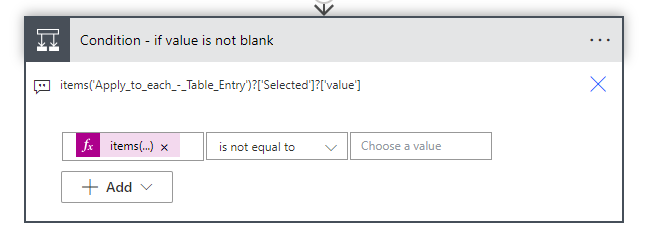
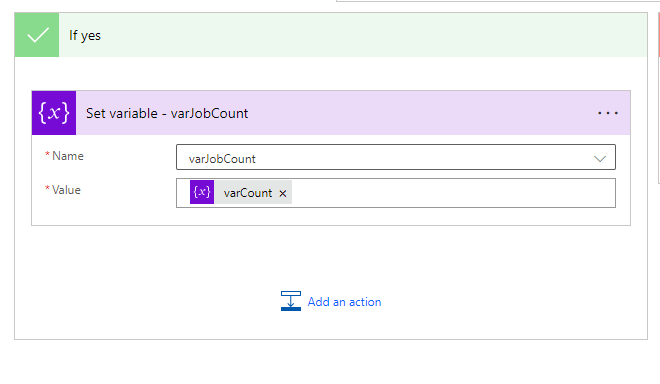
If the selected is not blank, then we will set the variable varJobCount to the integer of varCount.
💡 We can do this because the document being submitted is structured. If the document was NOT structured then we would need a different path
To transpose the selection to the choice we will add a switch. Since we know the structure of the document we can easily map it using the switch action

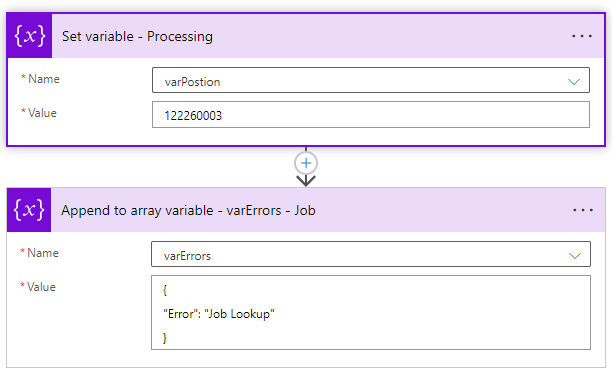
If there is an error in reading the table and all the values come back as null, we will set the default option to be the Processing choice followed by an append to array for the error array.
Next we will add in a scope to set all the variables before updating Dataverse
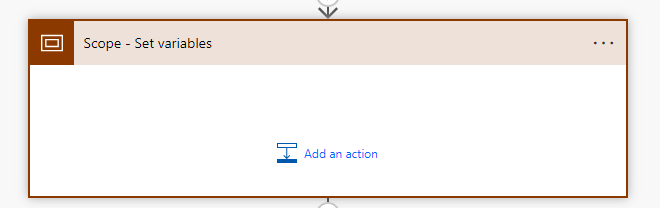
The First and Last Name will be set to be Upper case. The composed are not really needed, but it helps with troubleshooting.
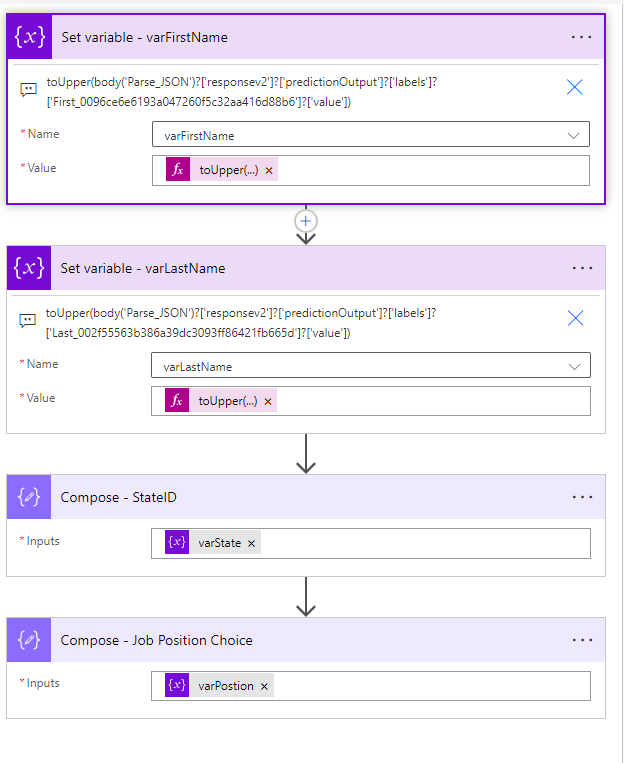
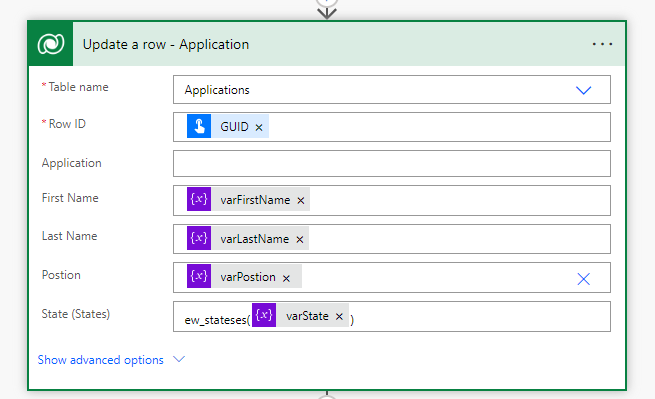
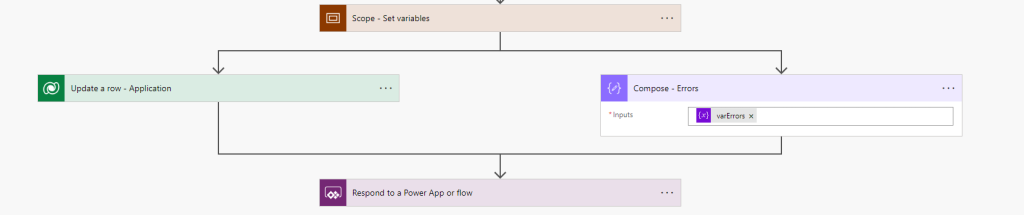
A Dataverse Update a row action is then added. The Row ID is the GUID from the trigger and the rest of the columns are filled out using the variables.
Then finally as a parallel action add in a compose of the errors array. We can expand upon this in the future to send an emails of any errors to the person who submitted it.
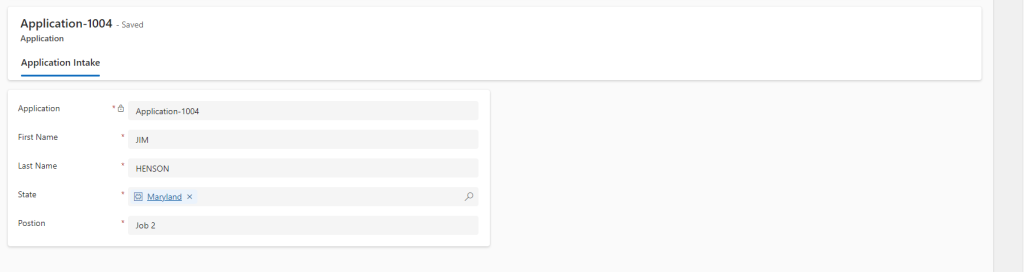
Now if we submit a document we will get the output into the MDA in the proper format
Human in the loop validation
With the data in the app we now need to validate its output. While we could instruct the user to simply click on the notes and look at the document, it would be easier to have the document loaded into the MDA so the user could review it along the data. To make this work we will be adding a canvas app into the MDA form.
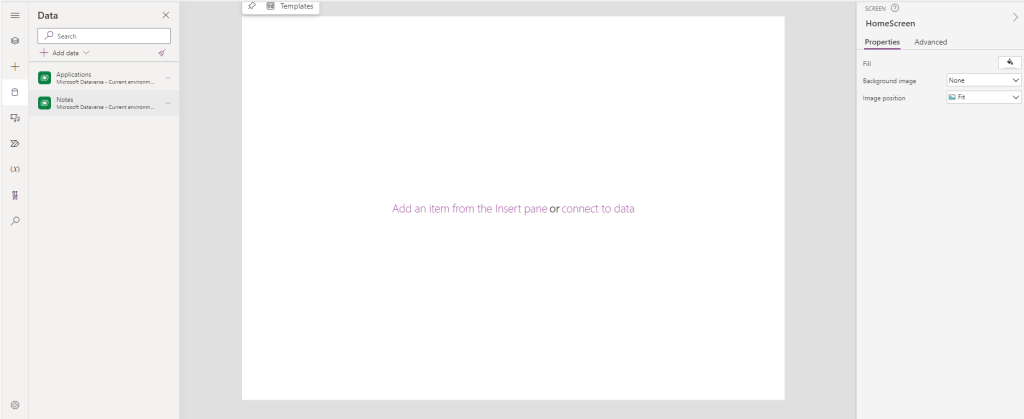
PDF Canvas App
The first step will be to add in a canvas app into our Main form within the applications table. For a detailed overview on how to do that see my previous post on it Adding a Canvas App to a Model Driven App-Part 1 Design and Initial Stage – Automate The Mundane
💡 When adding canvas app to a MDA things like On Start and On Visible dont always work as expected. So some “odd” workarounds have to be utilized
After your canvas app has been created add the Notes table into the app
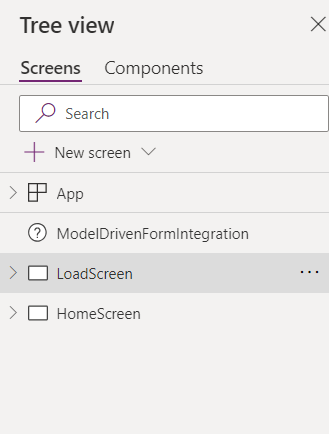
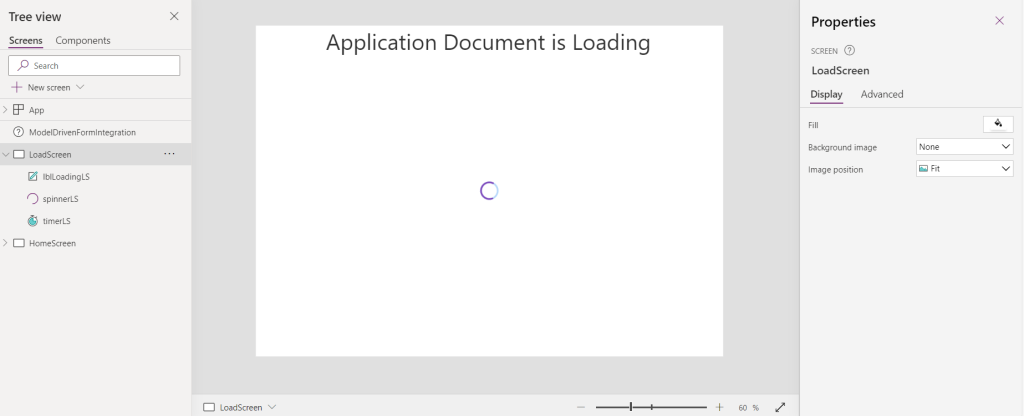
We will then add two screens, the Load Screen and the Home Screen
Set the On Load of the LoadScreen as follows.
UpdateContext({conTimer: true});This will update the context variable conTimer to true, starting a timer. Next we will grab all the notes associated with the record.
Add a label, a spinner, and a timer control. In the text label update the text to “Application Document is Loading” in it. In the timer set the duration to 10000, set the Start to conTimer, set the visible to false, set the On Timer End as follows
ClearCollect(
    colNotes,
    LookUp(
        Applications,
        'Application (ew_applicationid)' = [@ModelDrivenFormIntegration].Item.'Application (ew_applicationid)'
    ).Notes
);
Reset(timerLS);
Navigate(HomeScreen)
This will collect all the notes associated with the record, reset the timer, then navigate to the Home Screen
In the HomeScreen add a pdf control and a gallery
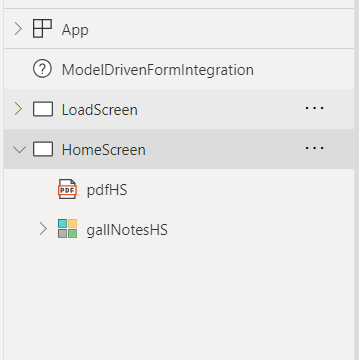
Within the gallery set the items as follows
Filter(
    colNotes,
    Title = "Application File"
)
Set the pdf control document to “varDocument”
Next we will need to build a flow that will convert the base64 document back to a datauri. The trigger will be the base64 note, the action will be the response to the Power app that converts the base64 to the datauri.
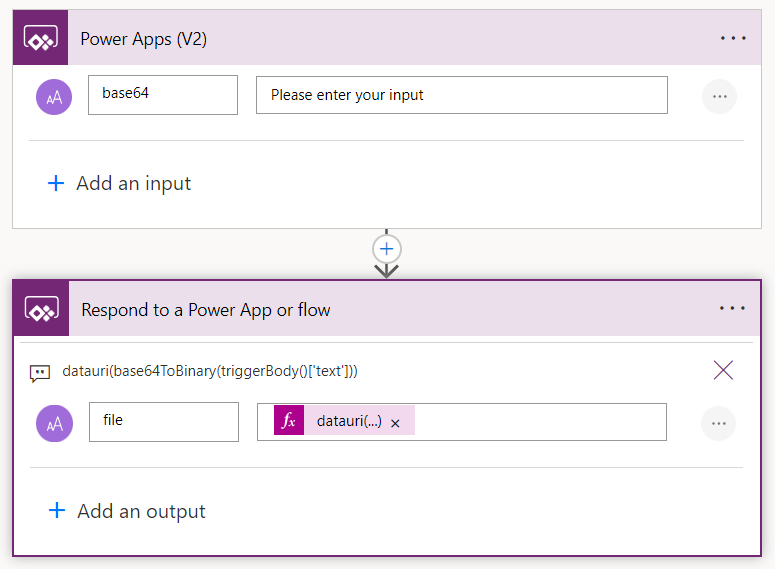
datauri(base64ToBinary(triggerBody()['text']))Set the On Visible of the HomeScreen as follows
Set(
    varDocument,
    'AppIntake-2.1-Converttodatauri'.Run(gallNotesHS.Selected.Document).file
);
This will run the flow and set the output of the flow to varDocument.
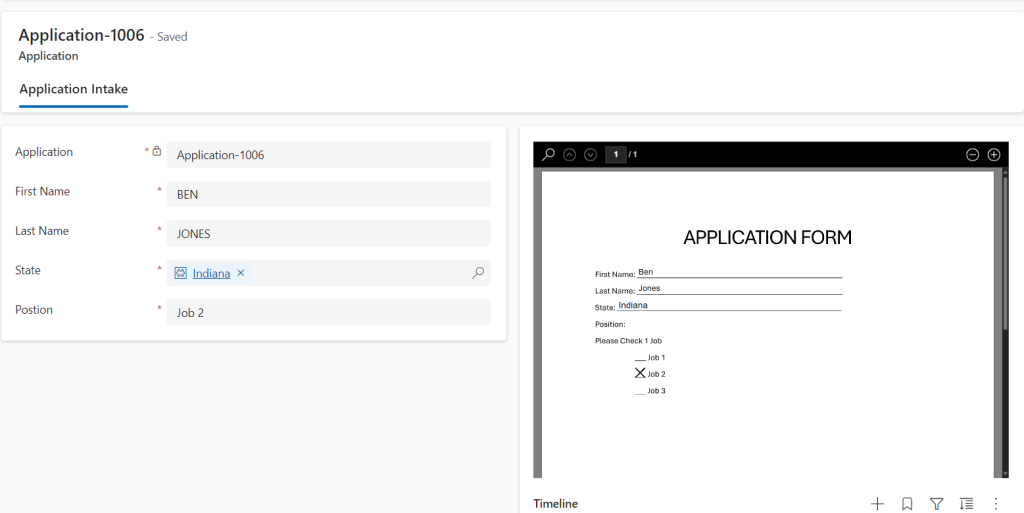
In the MDA we will now see the pdf loaded alongside the data!
Verifying Data
Now that we have both the data and the document loaded into the MDA we can allow our users to validate the data that came from the model. To do this we have a few options, we can use a PCF control that would either run some JavaScript or set a column to true to fire off a flow. We could also add a button to the ribbon of the form that would do the same thing. To keep it simple for this demo we will go with the ribbon.
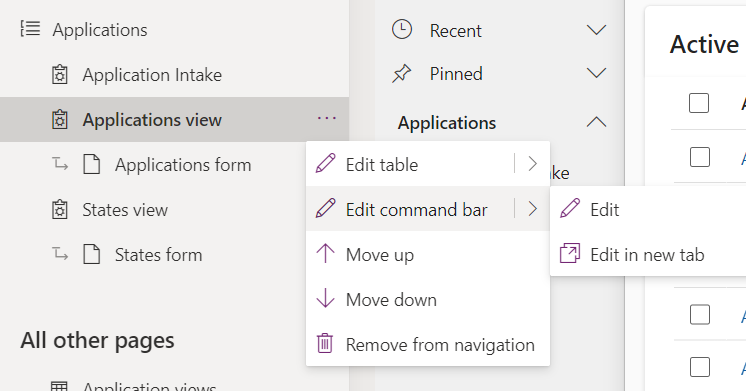
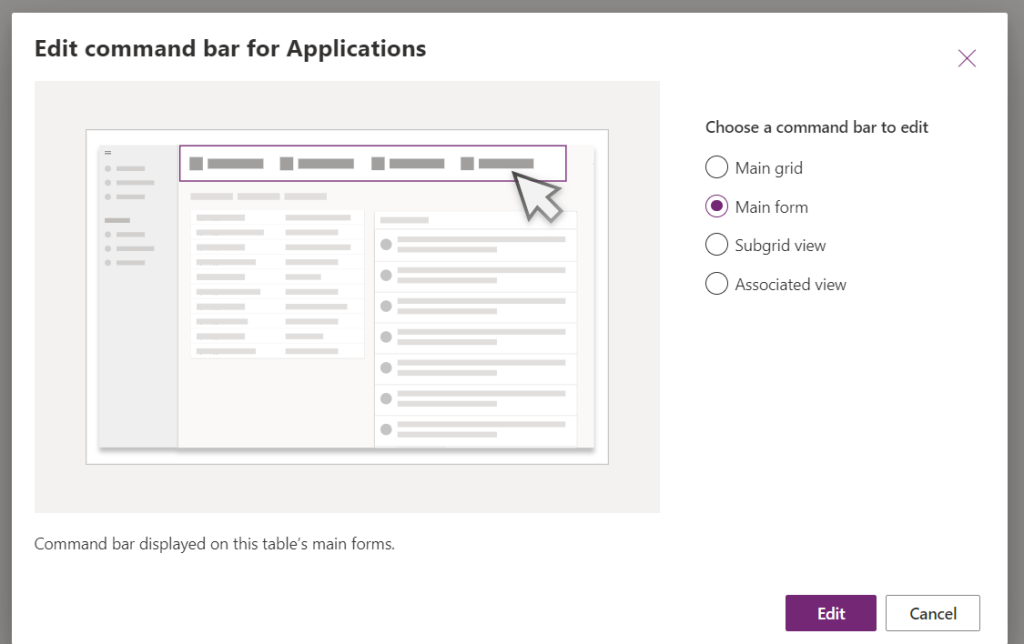
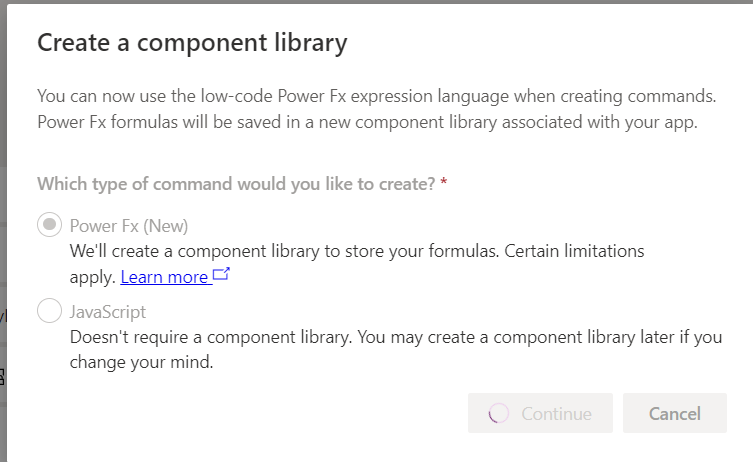
From the model driven app select the Applications Table then select edit command bar, then the main form. I will be using the new Power FX for our buttons.
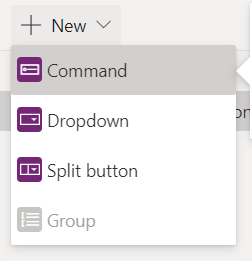
Create a new Command button
Set the Label to Application Validation
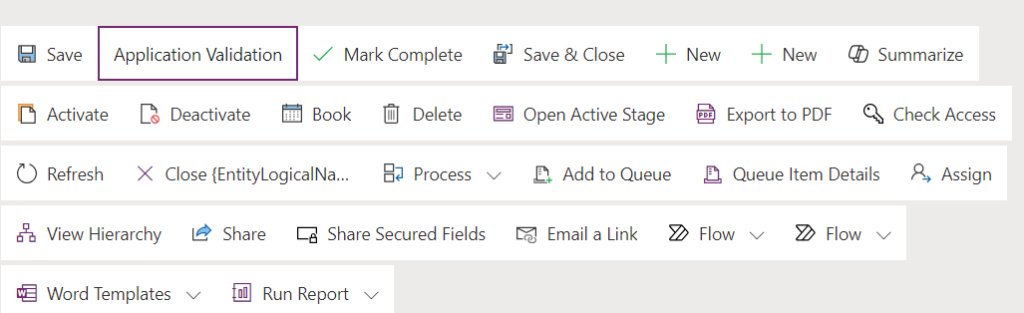
Set the OnSelect to
Patch(Applications,Self.Selected.Item,{'Application Validated':true})Set the Visibility to
If(Self.Selected.Item.'Application Validated' = 'Application Validated (Applications)'.Yes,false)From here we can create a flow that would trigger off of the application being validated. The flow could manage a BPF, send notifications, or anything else you can do with Power Automate.
Closeout
That was a long post! I thought about breaking it up into multiple posts, but thought that it was better as one big project. If you ever have any questions or ideas on how to update this, feel free to reach out.