The Register
This register will serve as the next pillar in this project. This is where all information about a project being proposed, being developed, or in Operations and Maintenance (O&M) will be stored.
When a new low code project is requested it will be entered into a MDA, from there an approval to management will go out requesting time be spent gathering requirements. If approved, the BA team along with the development team will meet with stakeholders gather requirements and define the project scope. Then the development team will request an approval for development work to actually begin. This is being done for a few reasons. First it ensures dev teams are not just running amuck building without control. Secondly, it will act as the gatekeepers to the pipeline. If a project has not had the initial approval the project will no exist in the Development Environment. If a project is not in the register it will not be allowed to push to production. There will be more as we dive deeper into the creation of this project, but enough of the oversight lets build it out.
Data Model
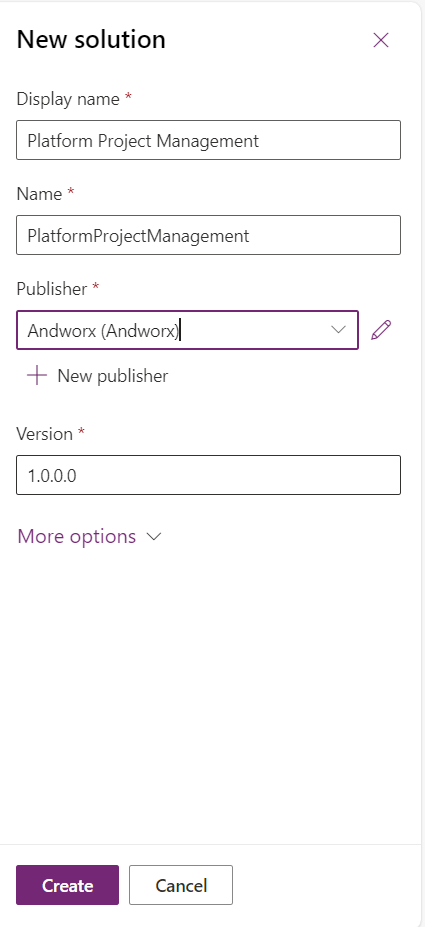
- Create a solution in Dev called Power Platform Project Management.
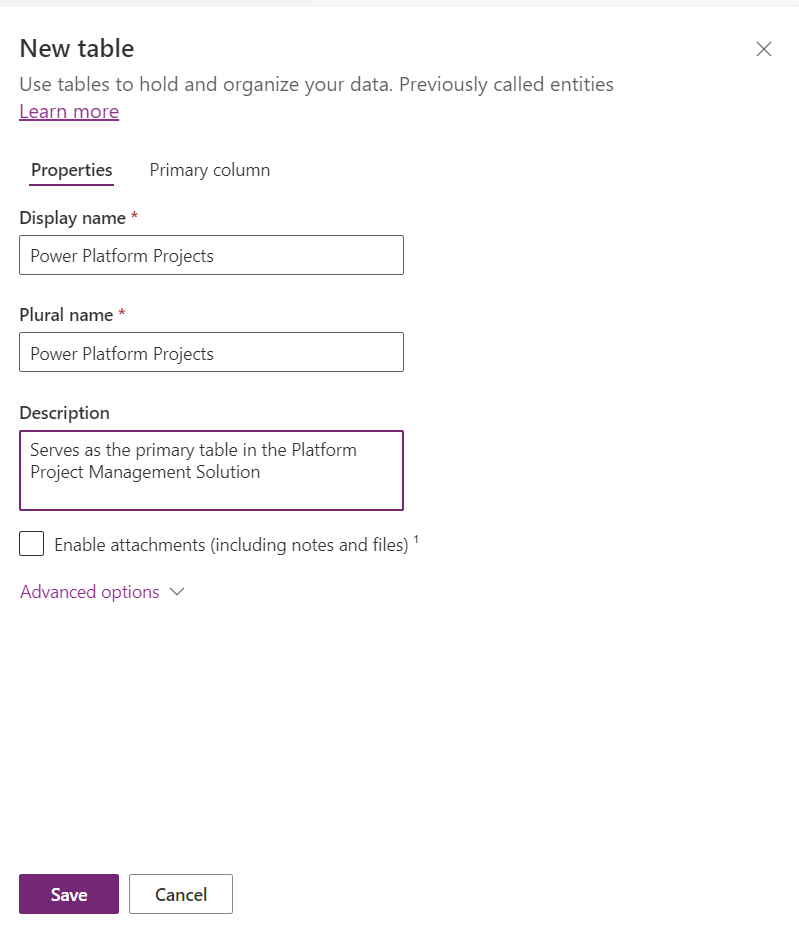
- Create a table in the solution called Power Platform Projects using the data model below.
💡 This will only be the first iteration of the table it will grow as the project evolves

- Create a new Main Form called “Platform Project Management Main Form”
Model Driven App
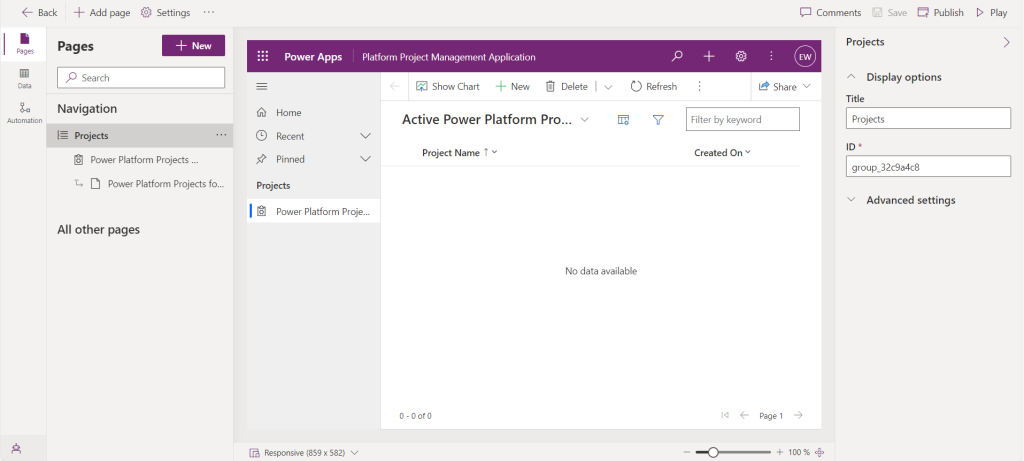
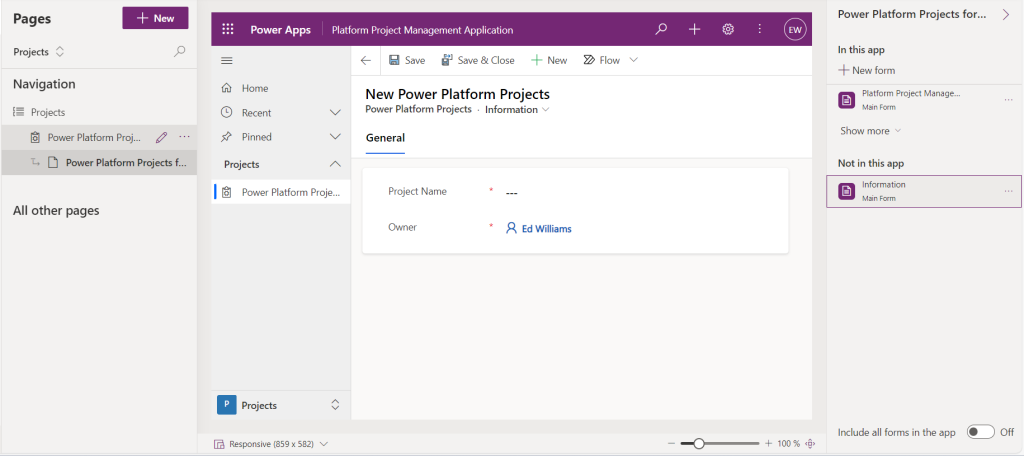
- With the form created we will now create a simple MDA called Platform Project Management Application and the Power Platform Projects table.
- Remove the Main Form from the app
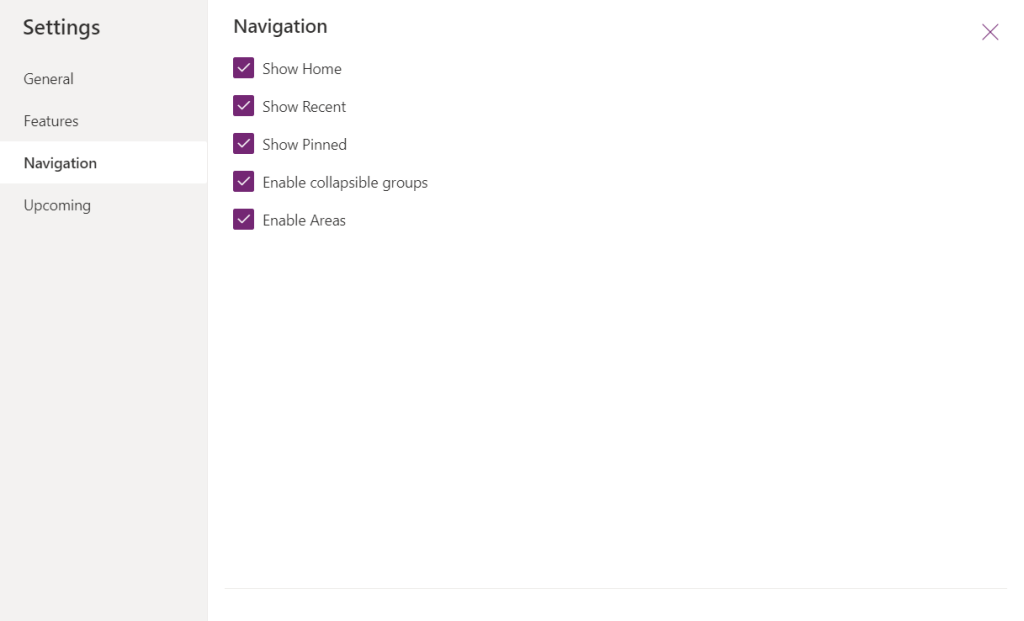
- From the Settings menu enable Enable Areas
- Rename the First Area as Projects
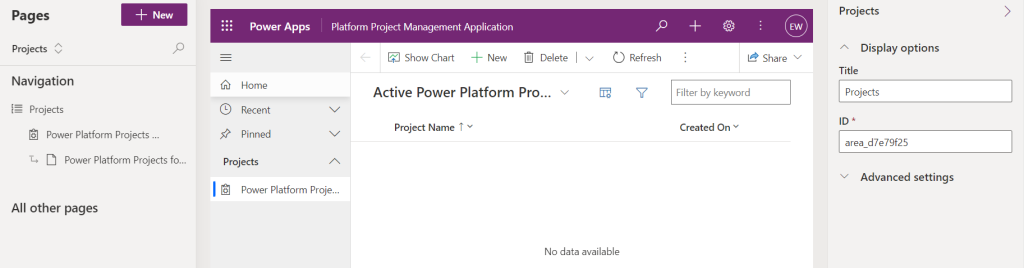
- Add the Contacts and the Entra ID
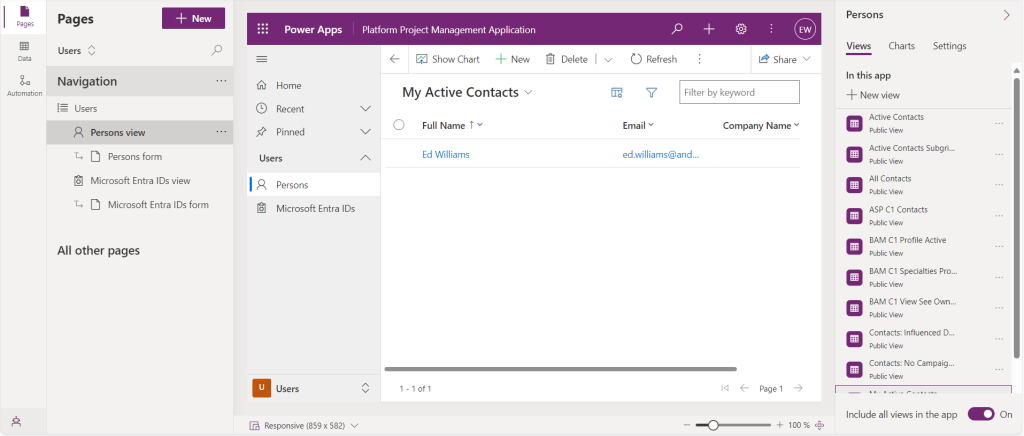
- Save and Publish the app
- Play the application and ensure that you can enter in the information as intended
- Push the Solution to Test in pipelines and ensure it works the way as intended.
Adding Solution ID to Table
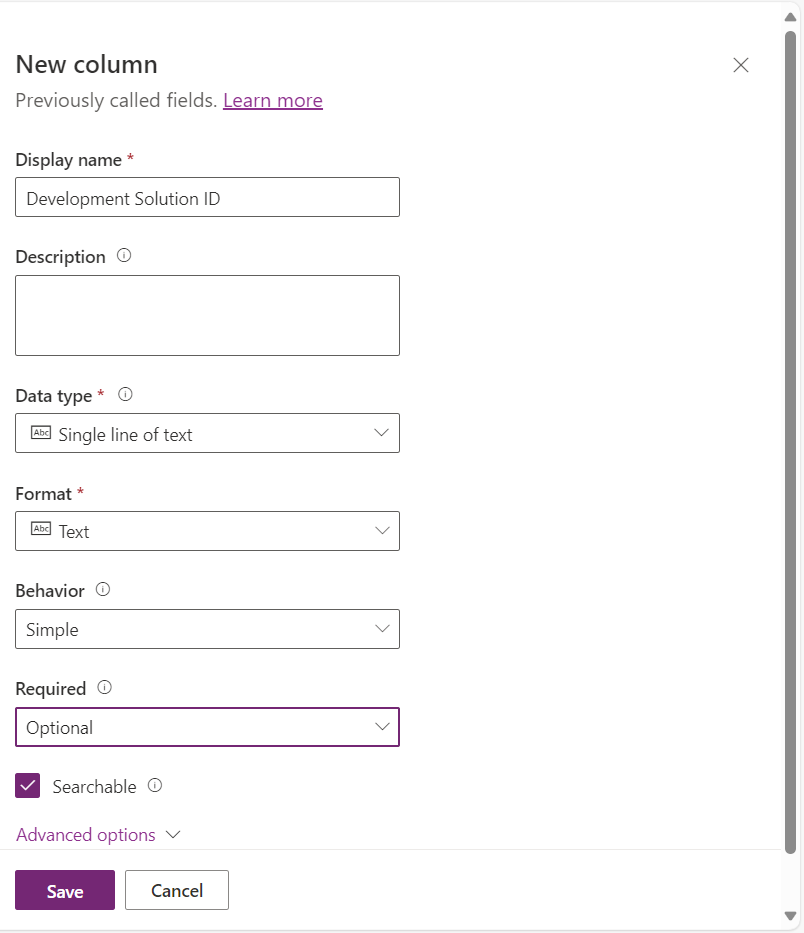
- Within the Power Platform Projects table add a new column called “Development Solution ID”.
- This will eventually contain the Solution ID of the solution within our development environment
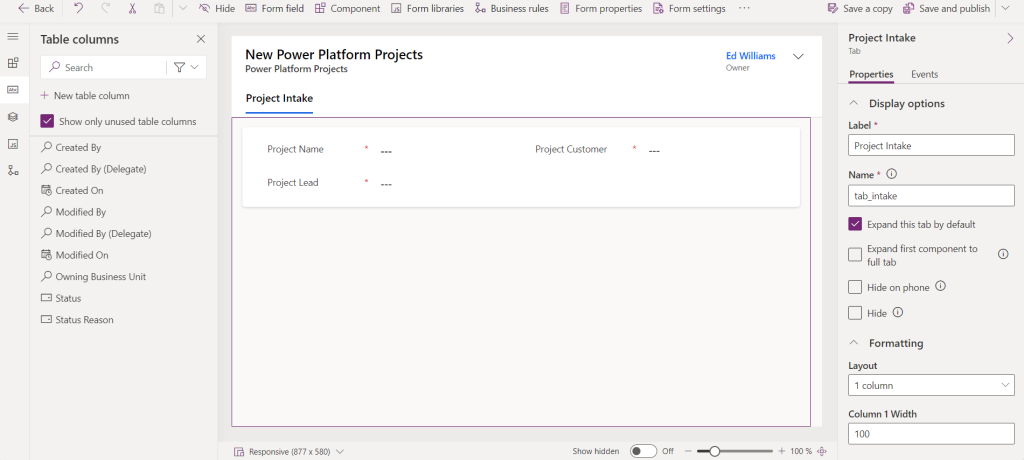
- Add the column to a new tab called Project Technical Information

- Since we do not want users to directly edit this ID we will set it to read only then hide the tab.
- We are hiding the tab because we do not want users to have to mess with to many fields on initial during project intake.
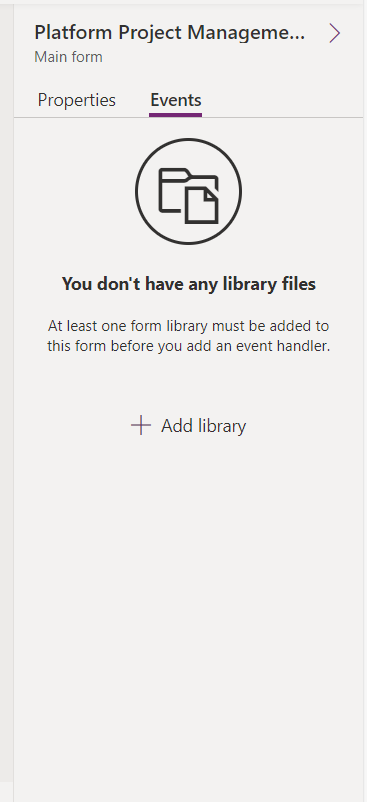
- To show the tab after the record has been created we will use JavaScript to manage it.
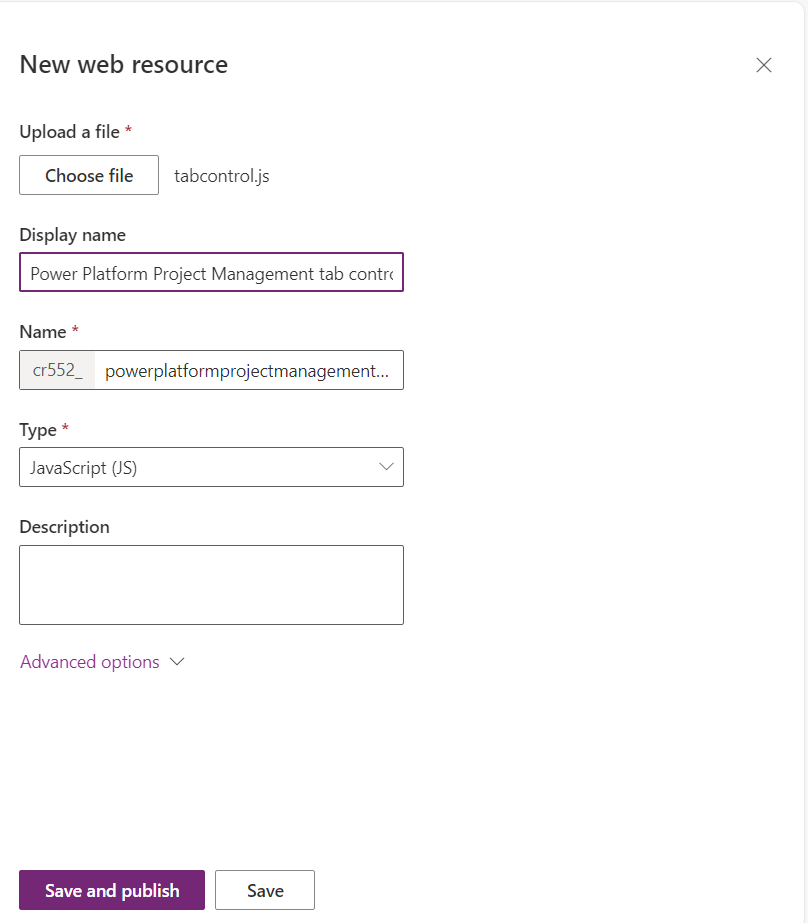
function onFormLoad(executionContext) { var formContext = executionContext.getFormContext(); // Get the record ID var recordId = formContext.data.entity.getId(); // Set the vars var tabinfo = formContext.ui.tabs.get("tab_tech"); // Check if the record has been created if (recordId === null || recordId === "") { // If the record has not been created, hide the tabs hideOrShowTabsAndSections(false); } else { // If the record has been created, show all tabs hideOrShowTabsAndSections(true); } function hideOrShowTabsAndSections(isVisible) { tabinfo.setVisible(isVisible); } } - Then add the JavaScript into as a library
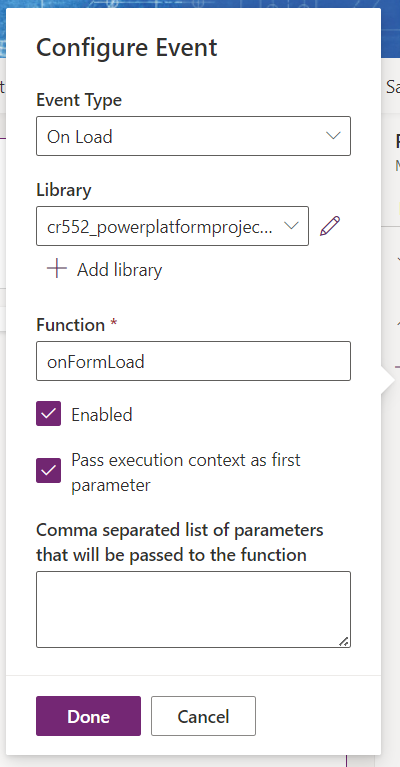
- Update the Events to load the JavaScript onload
- Save and Publish the Form. Then test the app to ensure that the JavaScript works as expected.
Intake Questions
Now that we have the start of the app and table created, we will add in some project intake questions. These will serve as the “kick-off” meeting questions for the project. For starters we will only as the following questions.
- Is this Solution Permeant or Temporary?
- When does the solution need to be delivered?
💡 To see the entire process please refer to process map found on GitHub
This list can and will grow as needed, but for demonstrations purposes we will only show these two.
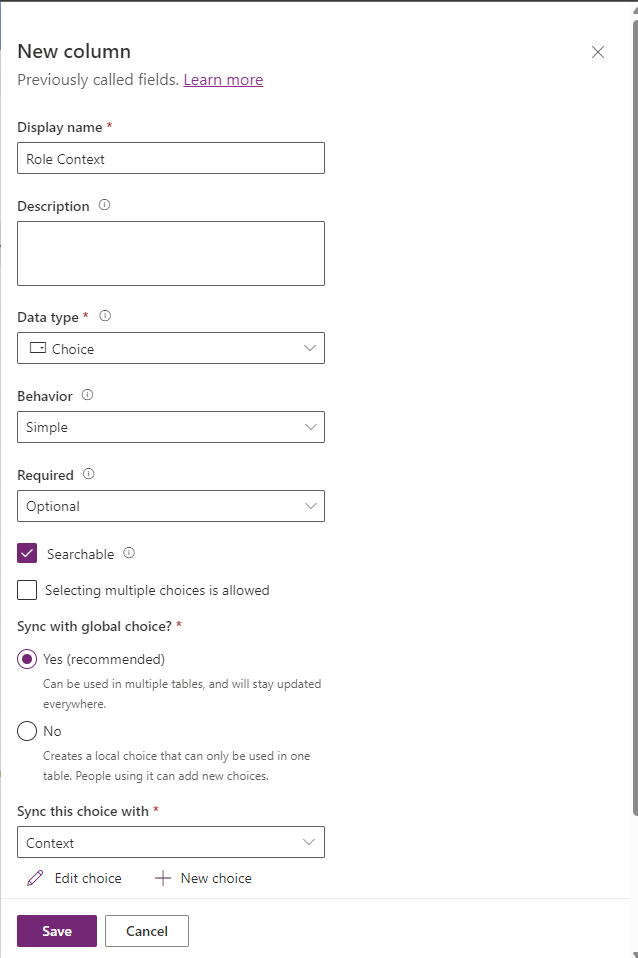
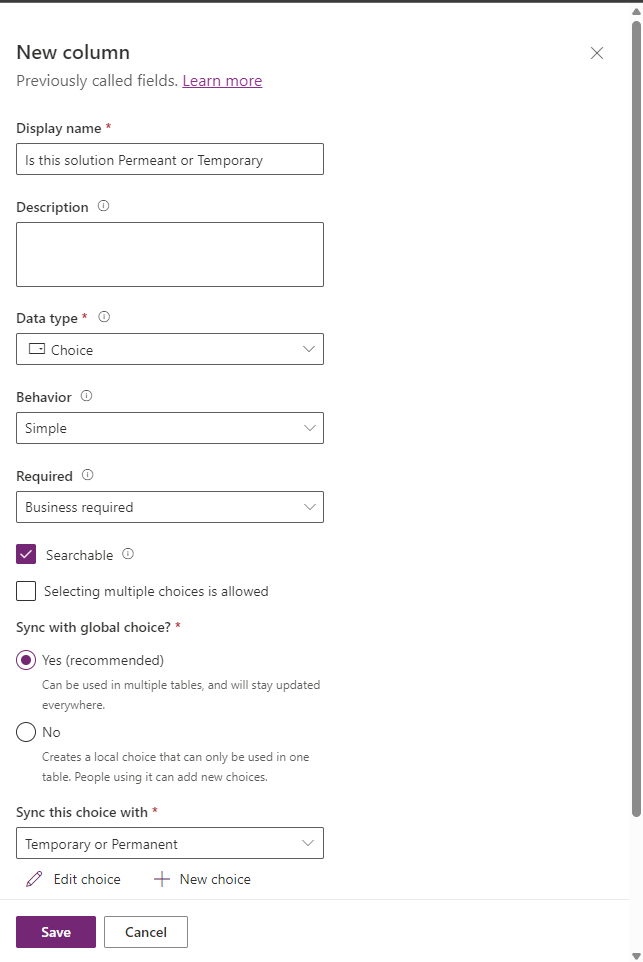
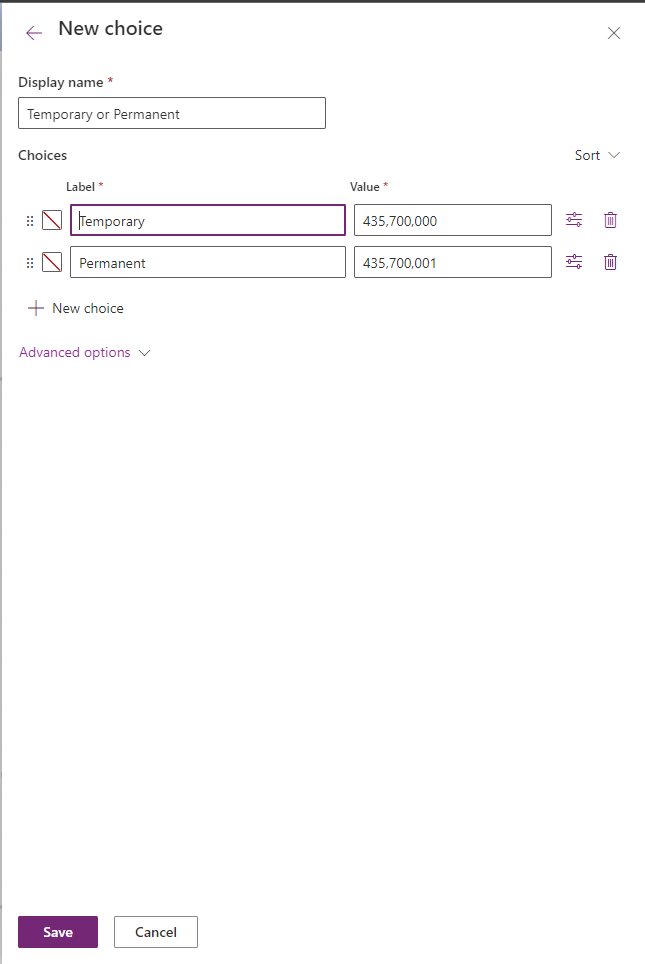
- In the Power Platform Projects create a choice column called “Is this solution Permeant or Temporary” using a new global choice called Temporary or Permanent
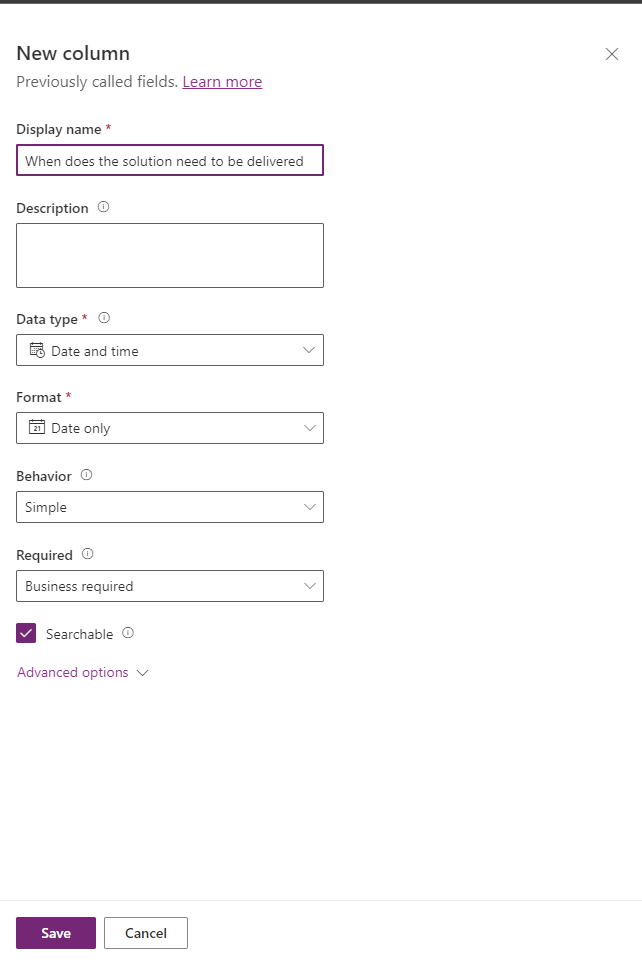
- Create a new Date Only column called When does the solution need to be delivered
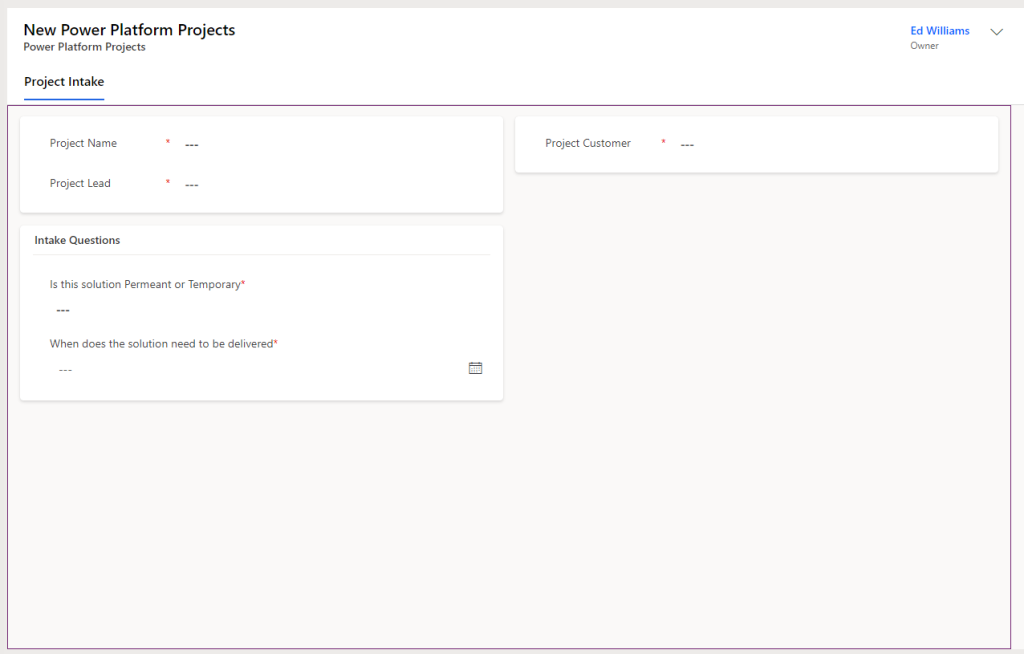
- Update the main form as follows
Business Rules
Now that all intake is completed we can build a business rule that will set the fields to read only after it has been created. We could update our JavaScript to handle this, but I prefer to use business rules to control filed read only status.
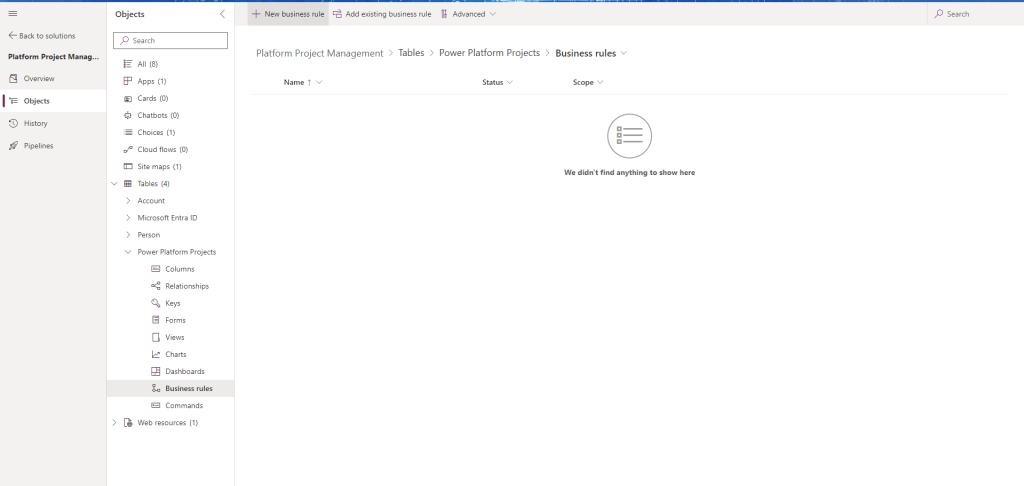
- From the Power Platform Projects table create a new Business rule called Lock Fields when created
- Set the initial condition as follows

- Add a lock for Name and both intake questions
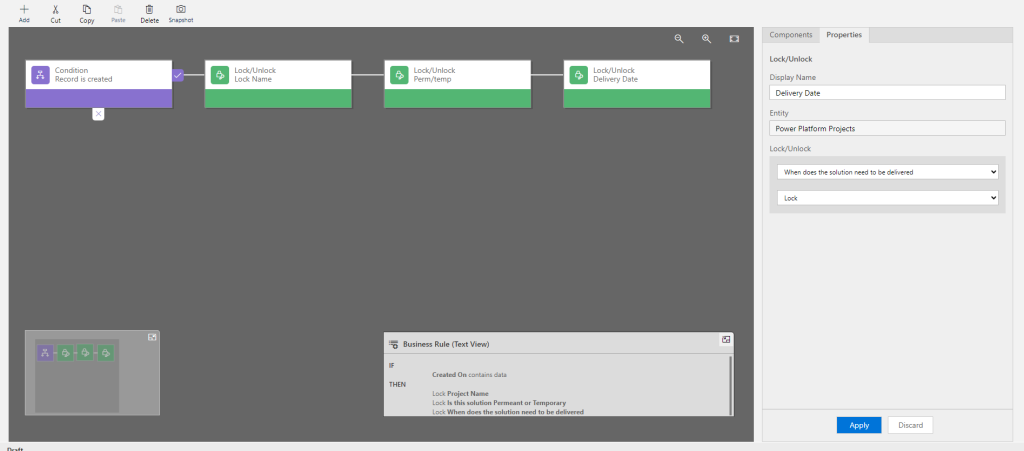
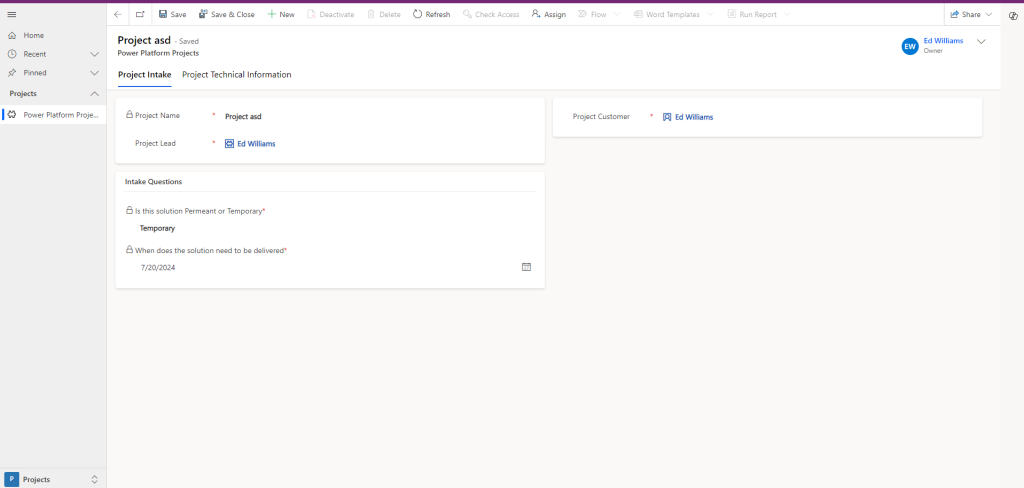
- Activate the Business Rule then test it out to ensure it works as expected.
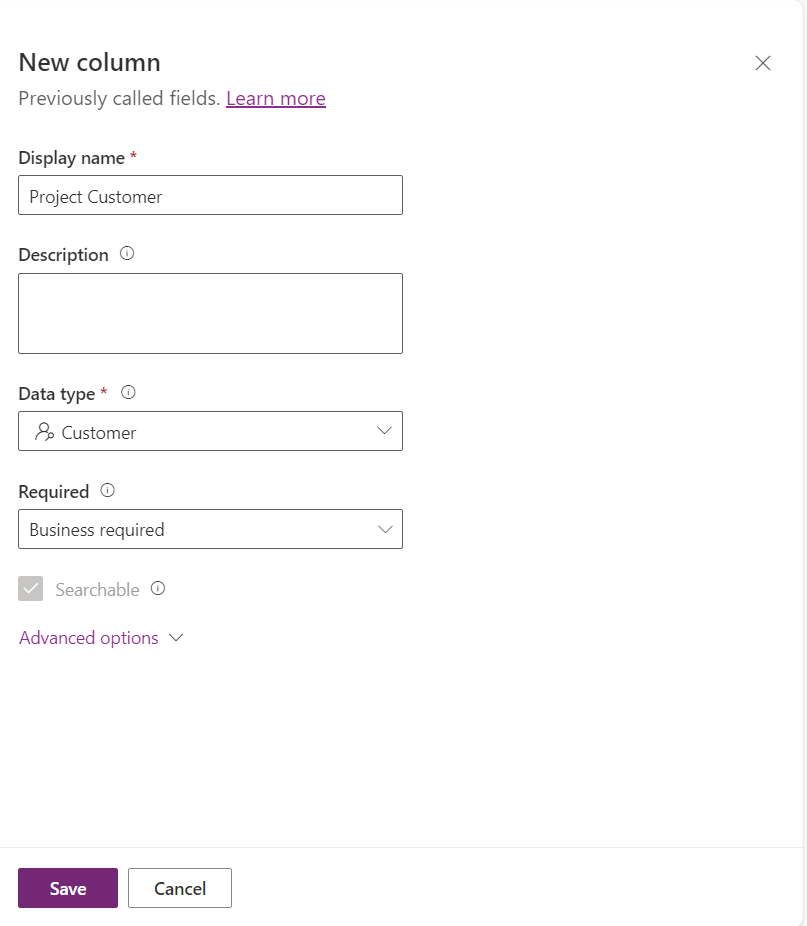
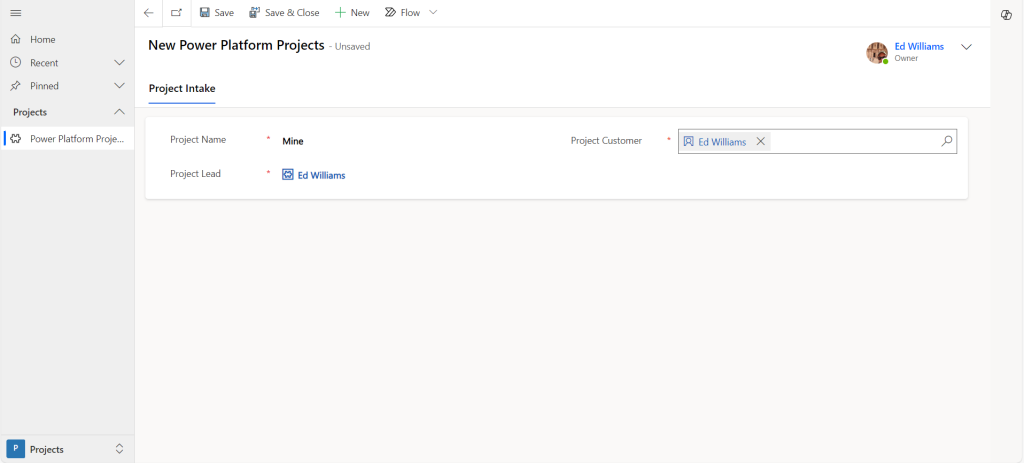
- The project is created, we can update the customer and lead is need be, but the initial intake questions are locked in.
That's going to do it for this post. In the next one we will go over adding the approvers and building out the approvals process.