
2/20/2023
The Why
Enabling SharePoint integration in the Power Platform is important because it simplifies data sharing and collaboration across multiple platforms. This integration allows users to utilize SharePoint's document management capabilities while maintaining a single source of truth for their data in Dataverse.
The How
Turing on SharePoint Integration
From PowerApps Navigate to Advanced Settings

This will bring up the Dynamics 365 management backed
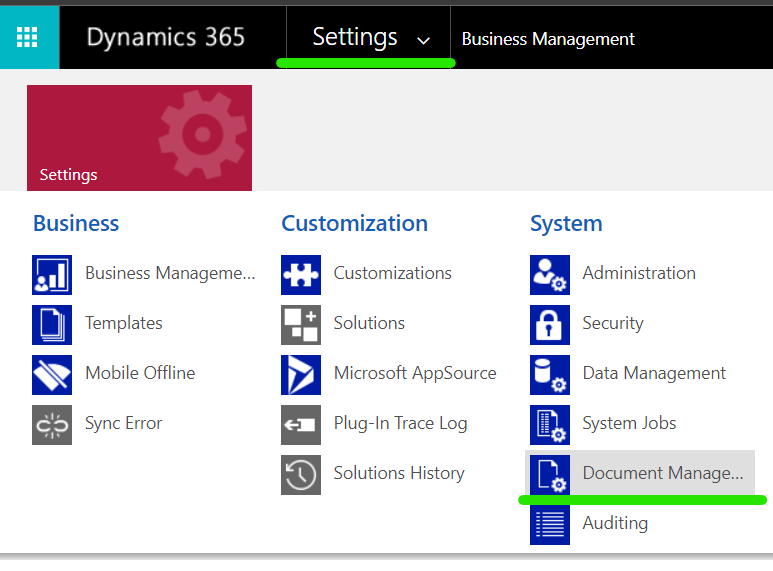
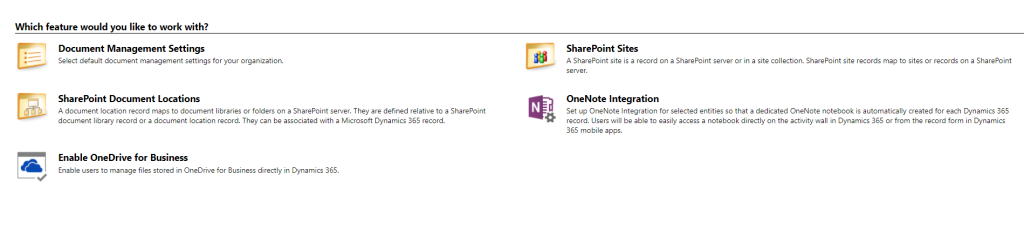
Select Settings, then Document Management
💡 If your screen looks like the following, the default site has already been configured.
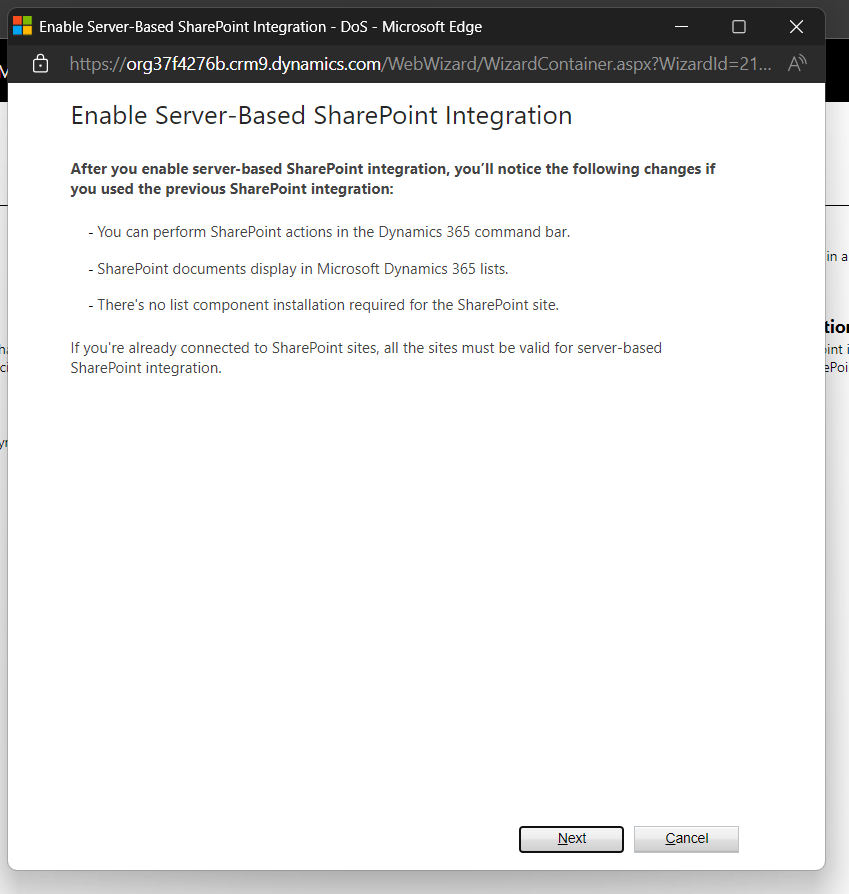
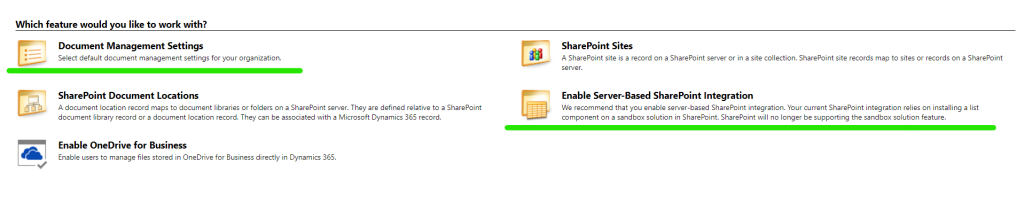
Select Enable Server-Based SharePoint Integration

Select Next
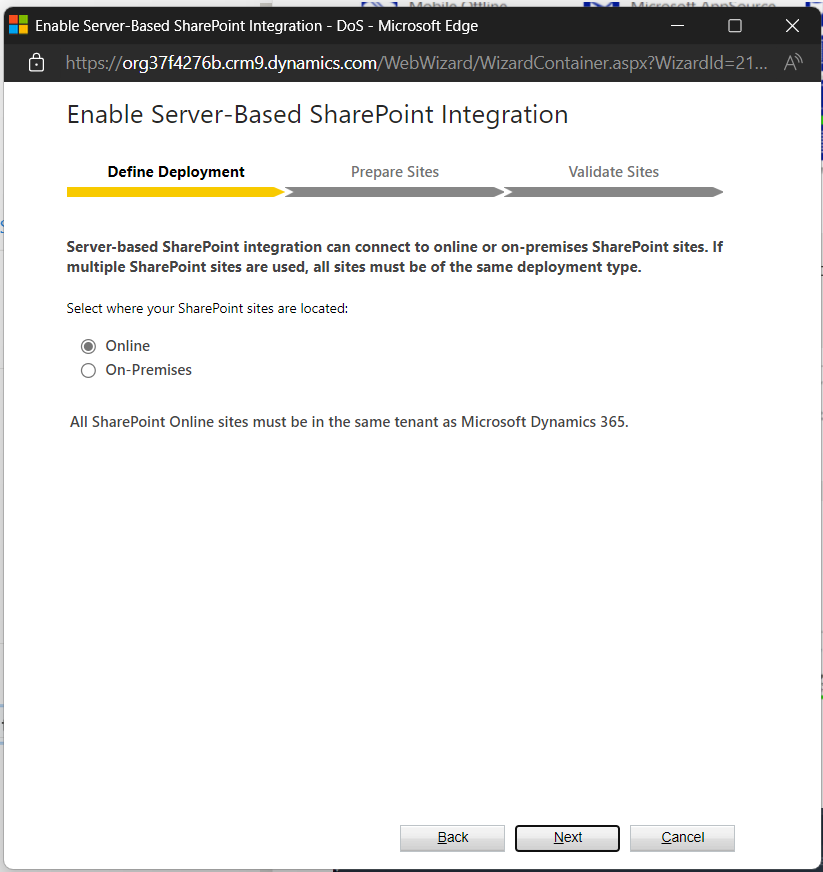
Configure appropriately
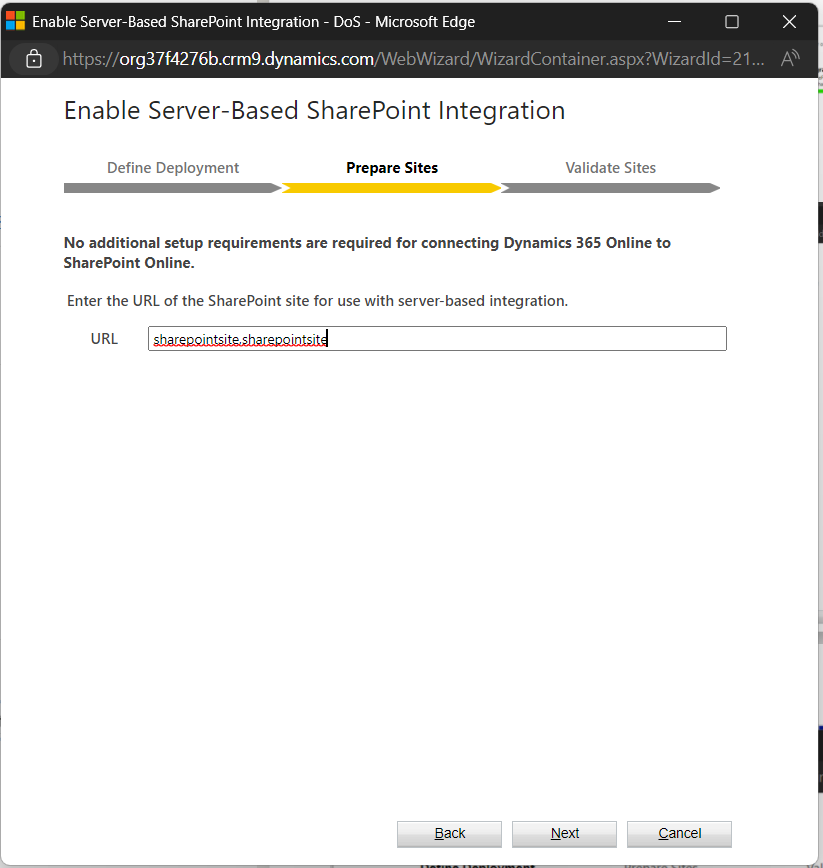
Enter in the desired default SharePoint Site, then continue to validation
Once completed, the Document screen will now look like this
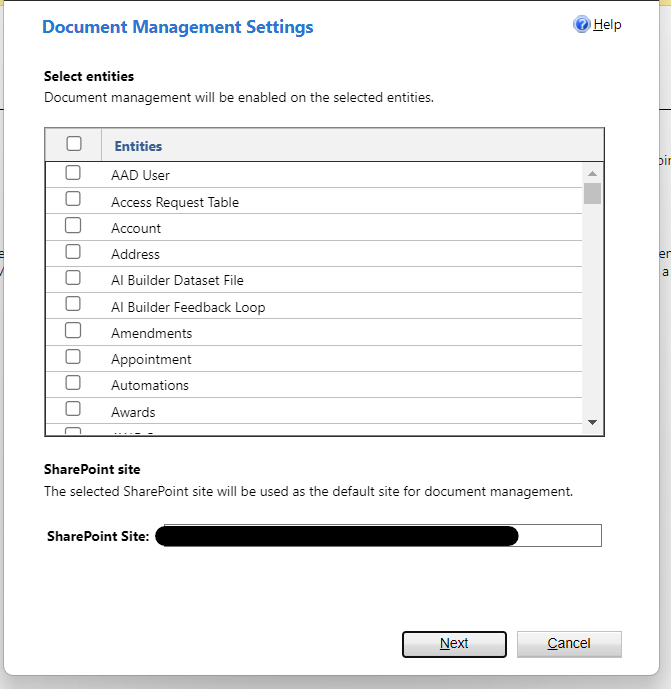
Select Document Management Settings
Select the Tables you wanted configured for the default site and enter the default site again at the bottom, then select Next.
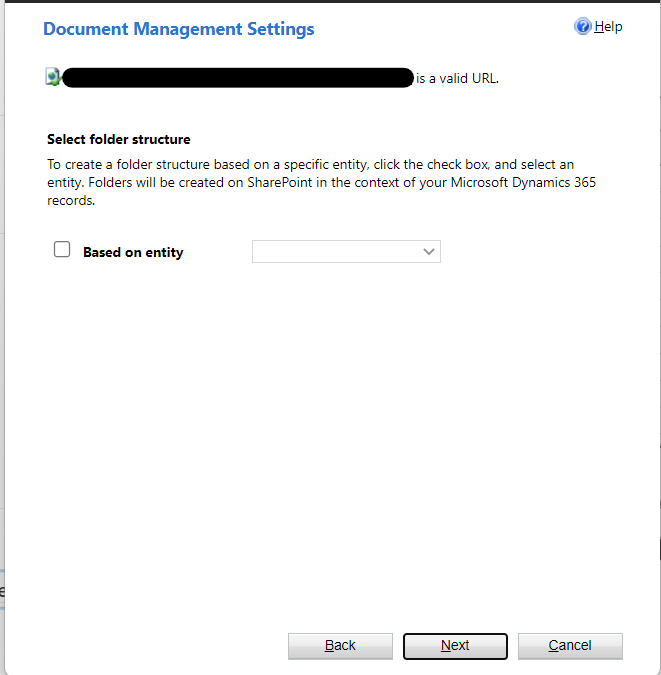
Do not make any selections on this page, just Select Next.
You will be asked to confirm the creation of the connection. Press Ok and the site will be configured.
What Actually happened
Select the SharePoint Document Location menu
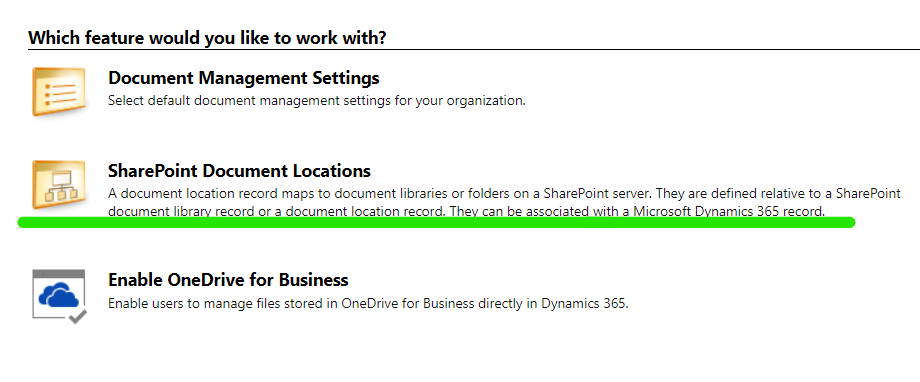
This will bring up a view of active document locations AND the site configured.
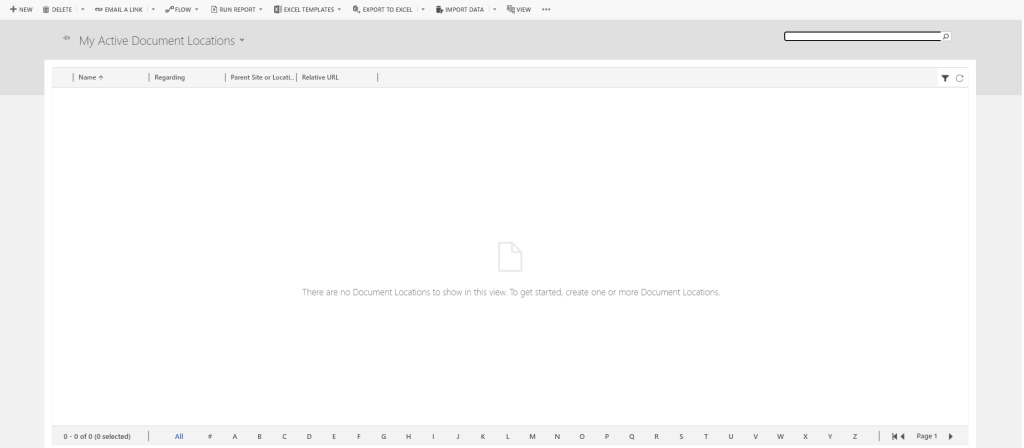
💡 This can also be viewed from the Dataverse Table Document Location
The table serves as a connector between the Dataverse table, where data is stored, and the SharePoint document library. It is essential to keep this in mind while configuring upcoming sites.