2/19/2023
The Why
Adding a canvas app to a model driven app can give users a more interactive and engaging experience. Canvas apps provide an intuitive way to interact with data and are customizable to suit the specific needs of the user. With the combination of model driven app data and the creativity of canvas app design, users can achieve powerful results.
This canvas app is designed to serve as a mandatory document checklist for the MDA series. It will provide users with the ability to upload necessary documents for purchase and track them using a checklist derived from a Dataverse table. The documents will be stored securely in SharePoint.
I prefer to store documents in SharePoint rather than Dataverse, as SharePoint is purpose-built for document management. Storing documents in Dataverse also consumes valuable storage.
The How
Dataverse Table Design
The table to be used for the document checklist will be as follows
| Document Name | Completed | SharePoint Link | Purchase Request ID | Purchase Type | Document Type |
|---|---|---|---|---|---|
| String | Boolean | URL | Lookup | Choice | Choice |
- Document Name
- String of the Document that will be created when the canvas app patches it to SharePoint
- Completed
- Boolean to mark if the document has been uploaded
- SharePoint Link
- URL to SharePoint that will be created when the document has been uploaded
- Purchase Request ID
- The Lookup to the purchase request
- Purchase Type
- A choice of either Purchase Card or Contract. This will be decided upon the amount selected during the purchase request. < 1K Purchase Card, ≥1K Contract
- Document Type
- Each purchase type will require a certain set of documents.
- Purchase Card
- Justification Document
- Vendor Document
- Quote
- Contract
- Quote
- Vendor Research
- Company Contract Form
- Purchase Card
Creating Canvas App
There are two main ways to build and add a canvas app to a Model-Driven app: creating the canvas app and linking it to the MDA, or letting the Power Platform create it from the model-driven app. I find the latter to be more reliable, as it ensures the linkage is always correct.
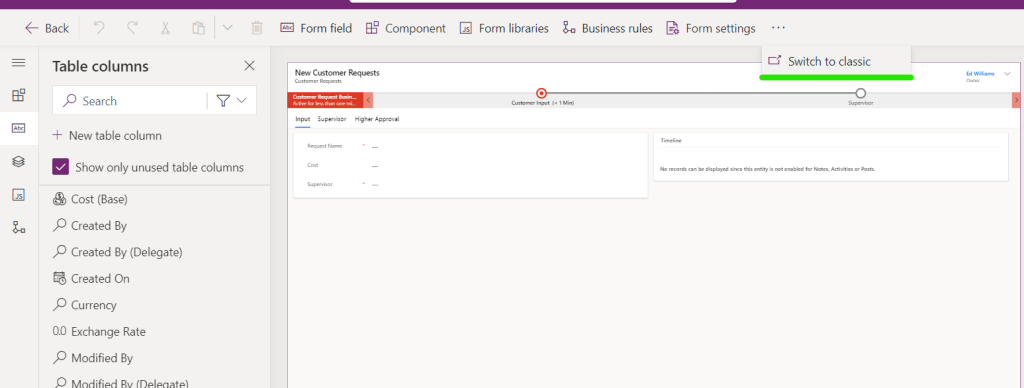
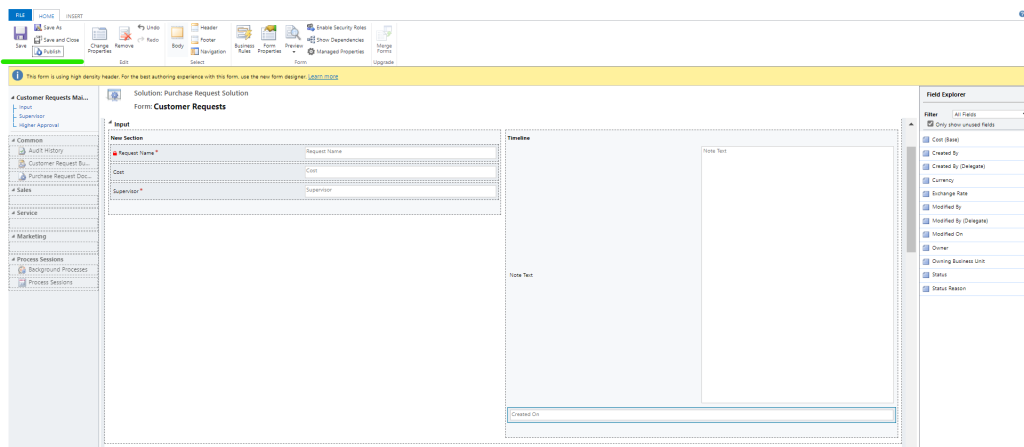
- From the form of the MDA select switch to classic. This will bring up the Dynamics 365 form builder experience.

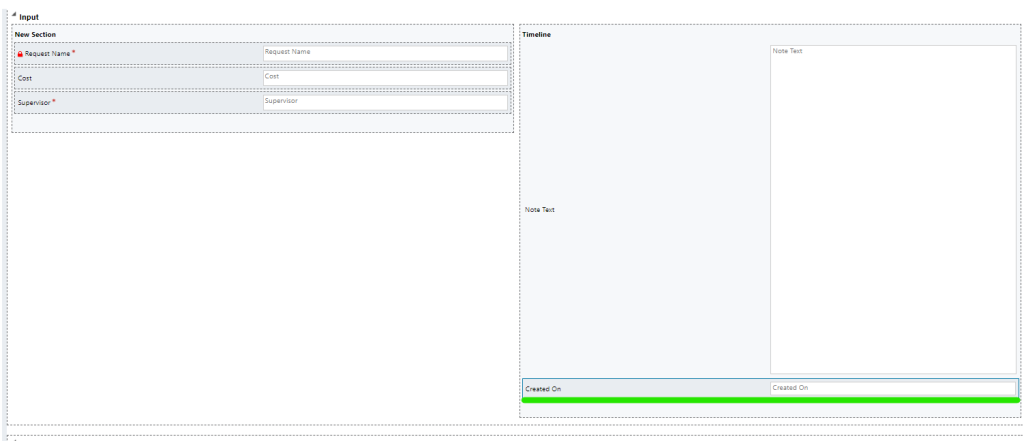
- For this example I have placed the created on column below the timeline in the input form. To add a canvas app to the form it needs a place to “live”, by using this automated column we can ensure that it will always been shown on the screen.
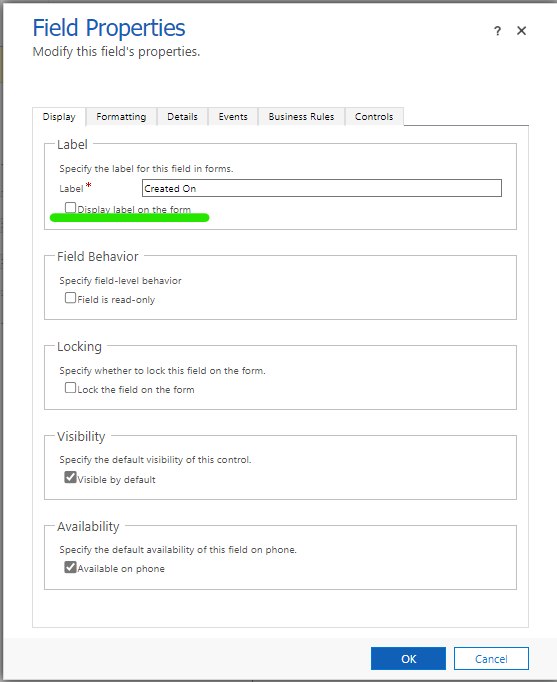
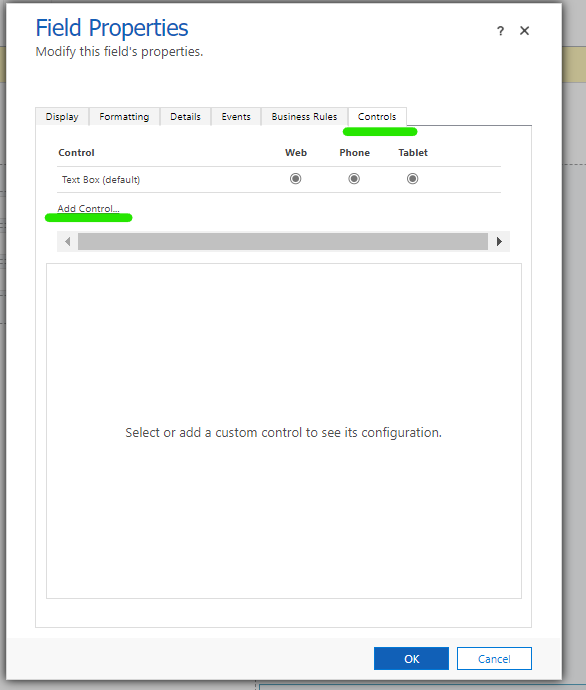
- Double click on the newly added column
- Deselect “Display label on form”.
- Select Controls, then Add control
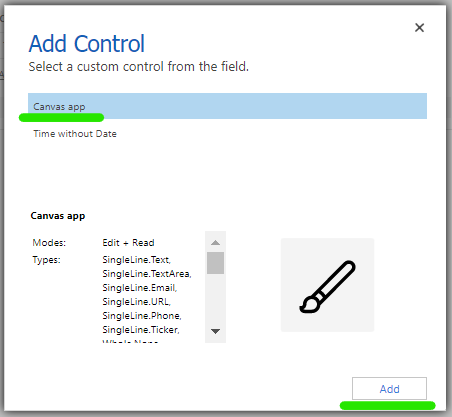
- Select Canvas App, then add
- Select Customize
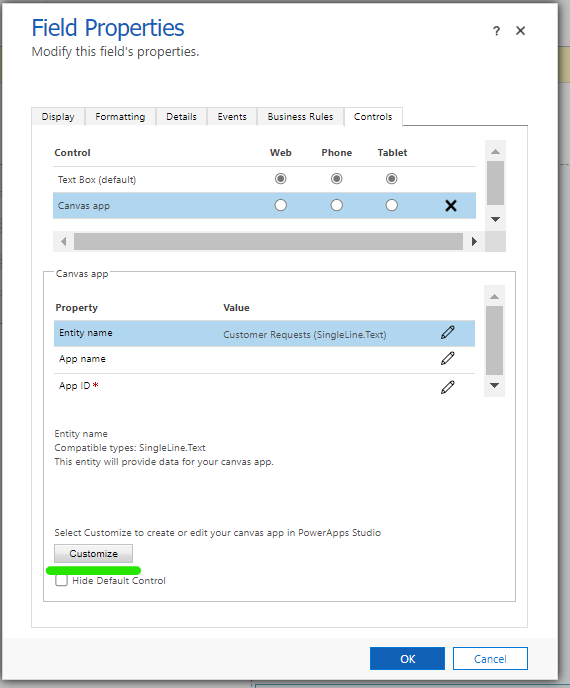
- This will start the auto build process for the app
- Immediately Save and Publish the app. The app is not ready, but this will ensure that it is created.

- Close the Canvas App and go back to the Dynamics 365 Form Editor. Note that all the fields have been filled out for you. Press Ok.
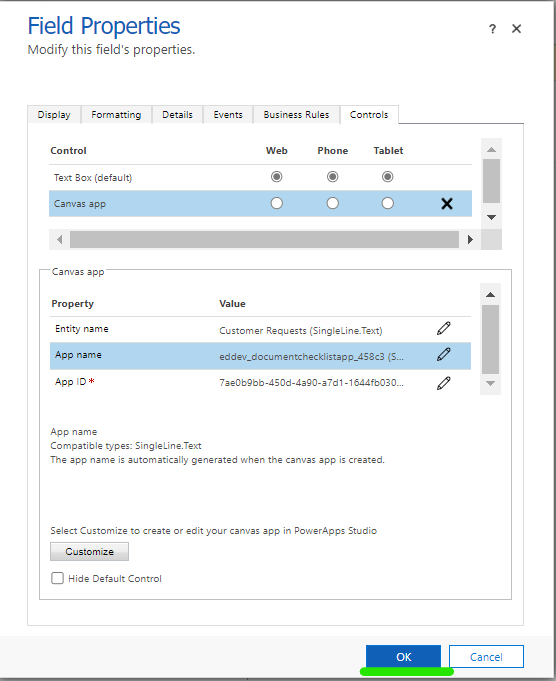
- Save, then Publish the Form
- Close the Dynamics 365 form editor then refresh the form from the solution. The newly added part will now be shown at the bottom of the timeline.
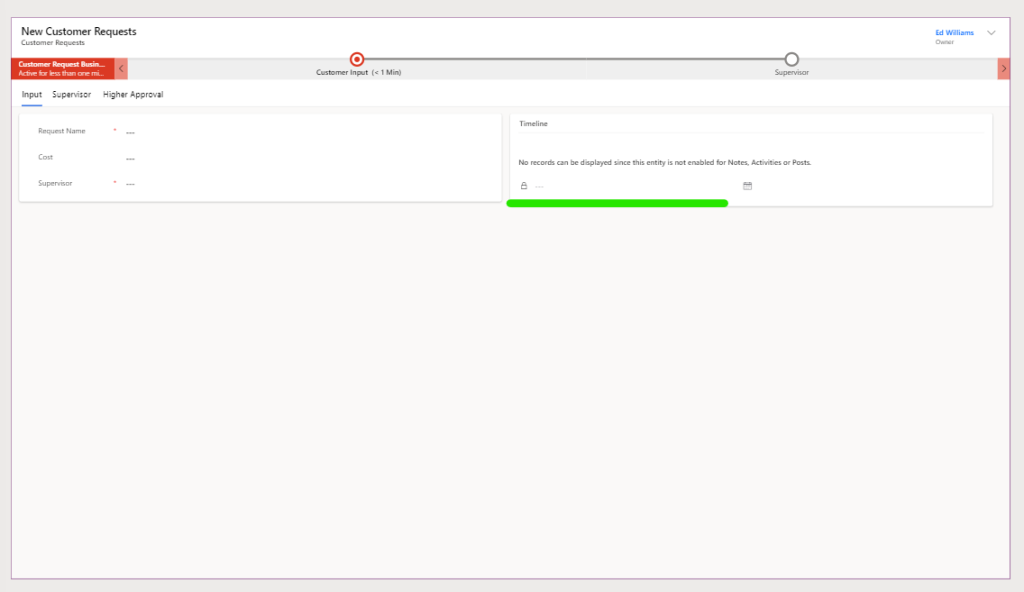
- You can return to this view at any point to see how the canvas app will look.
Editing the Canvas App
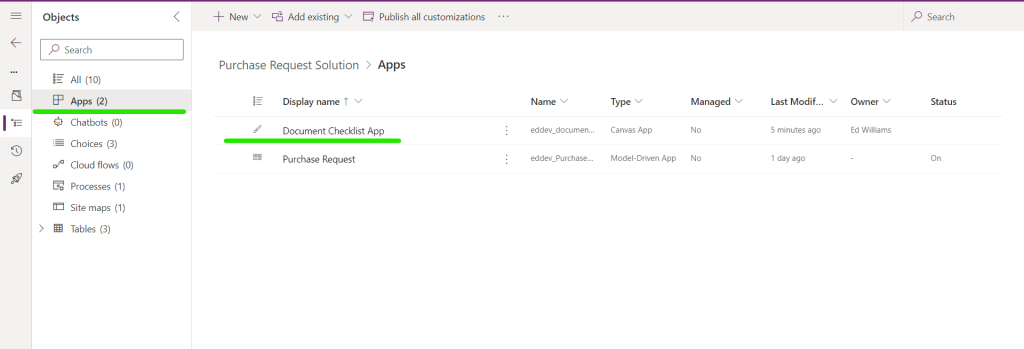
The newly created canvas app will now be within the solution.
- Each purchase type will require a certain set of documents.
But in its current form it is not able to do much. The next steps will be to shape the app to fit within the form and to connect it to the Newly created documents table from above.
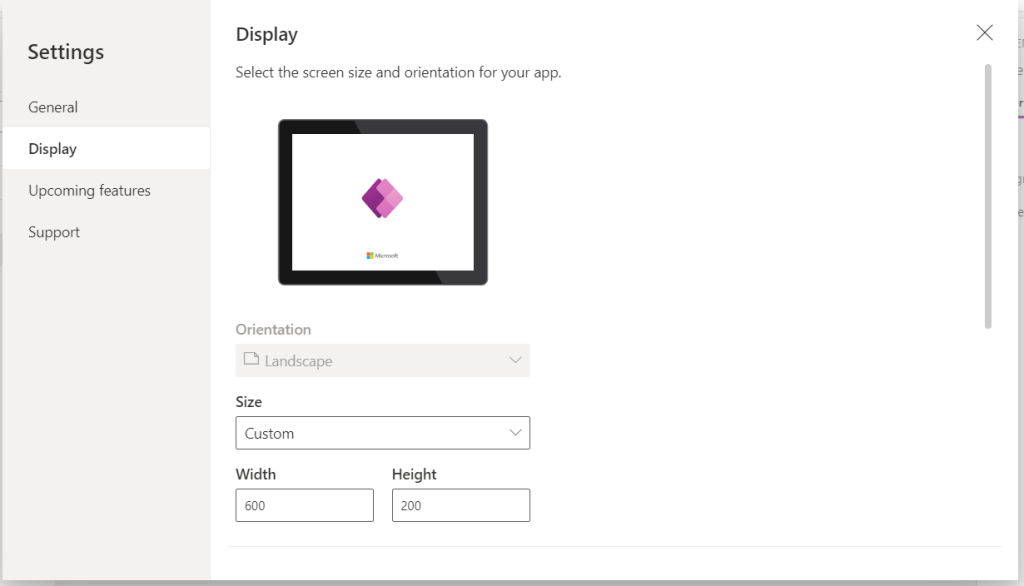
- The first step will be to edit the overall size of the app so that it will fit withn the form.
- Select Settings, then display

- Edit the Size so that it is 600x200 and in landscape mode. I have found that this size is best for a form.
- Add a new screen
- Delete the auto created screen. This will give you a completely blank app
- Add in the Documents Table
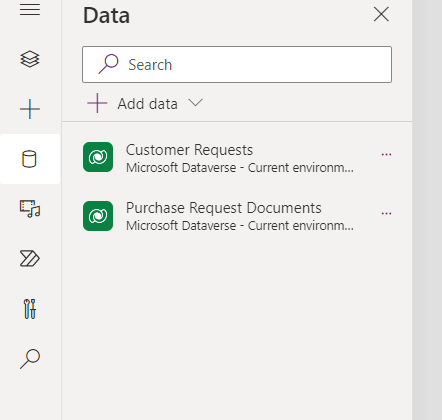
- Add two containers one for the Header and one for the gallery
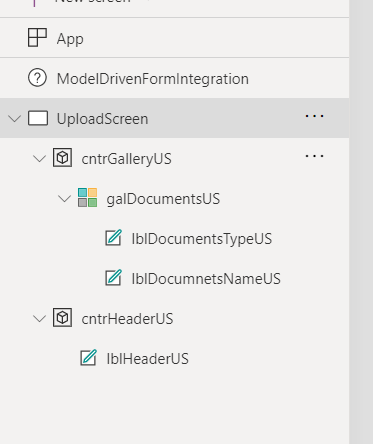
- In the Gallery add two labels, one for the type and one for the document name
- Filter the gallery using the customer request lookup and the ModelDrivenFormIntergration. This filter will ensure that only documents associated with the request will be shown.
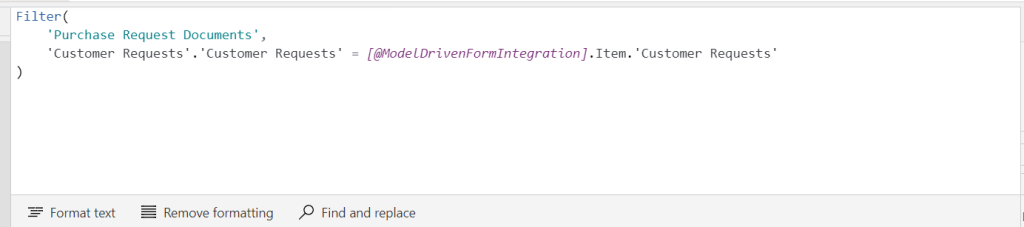
💡 The ModelDrivenFormIntegration was automatically added when we added the canvas via the form.
Filter( 'Purchase Request Documents', 'Customer Requests'.'Customer Requests' = [@ModelDrivenFormIntegration].Item.'Customer Requests' ) - In the header container add a label for the header
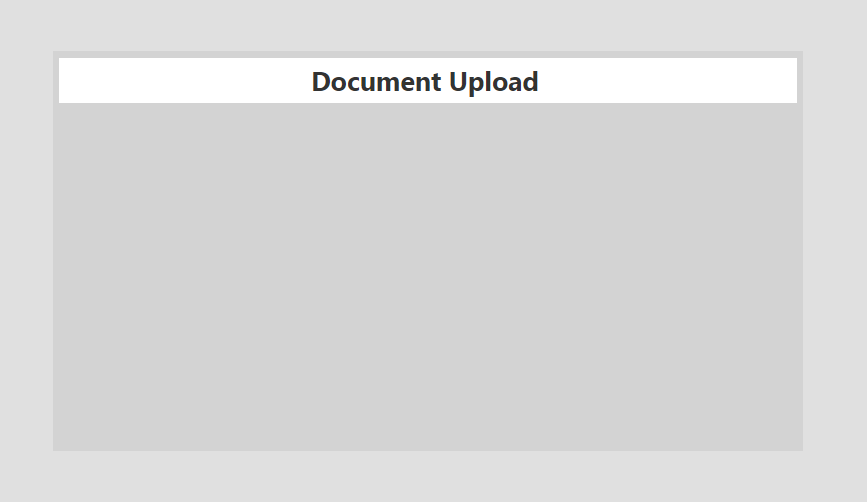
- Because there is no data in the database, nothing will be displayed on the screen.
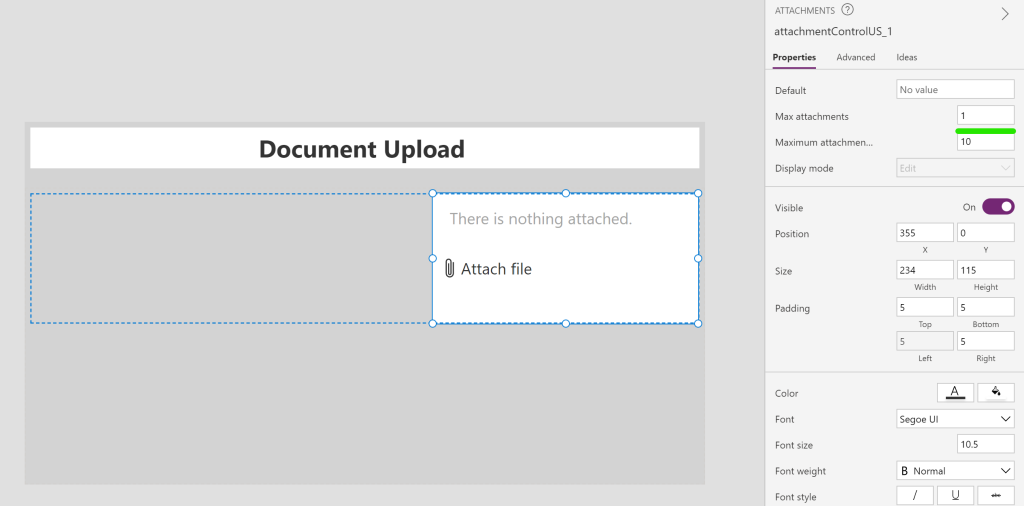
- The next step will be to add the attachment upload. The best way to do this is to “steal” an attachment control from a SharePoint Lists form. I am using a temporary list that I have in my Teams space that I keep for this scenario.
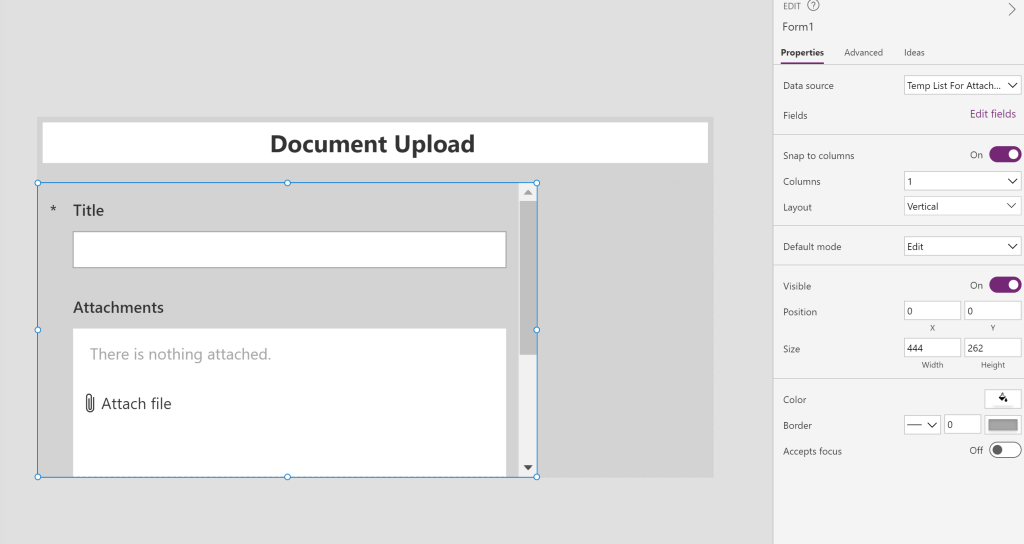
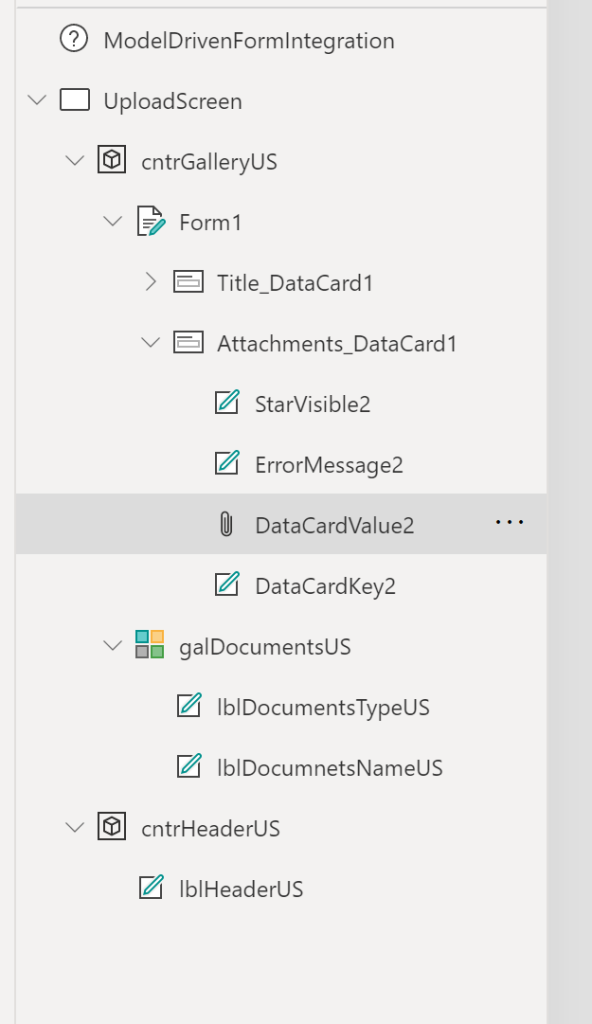
- Copy and paste the control to the container, then remove any errors that come up.
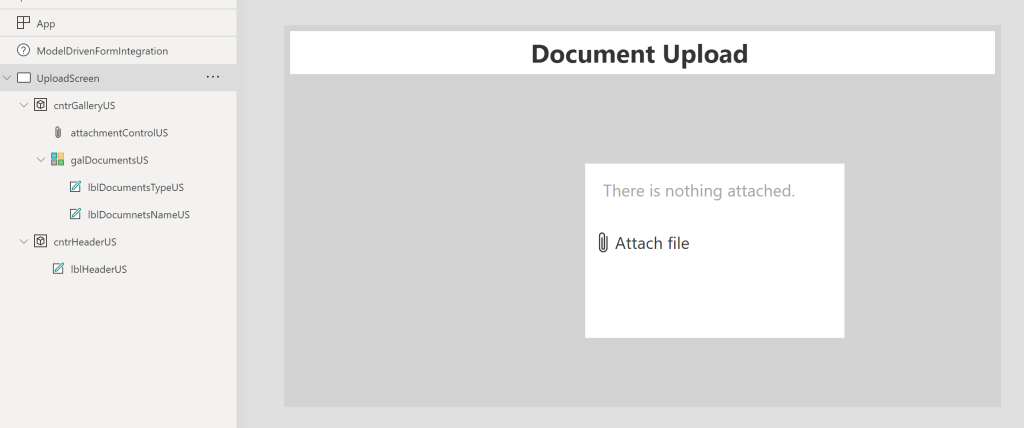
- Then cut and paste the control to the gallery. By putting the control within the gallery we can upload individual documents to SharePoint and ensure they are named correctly.
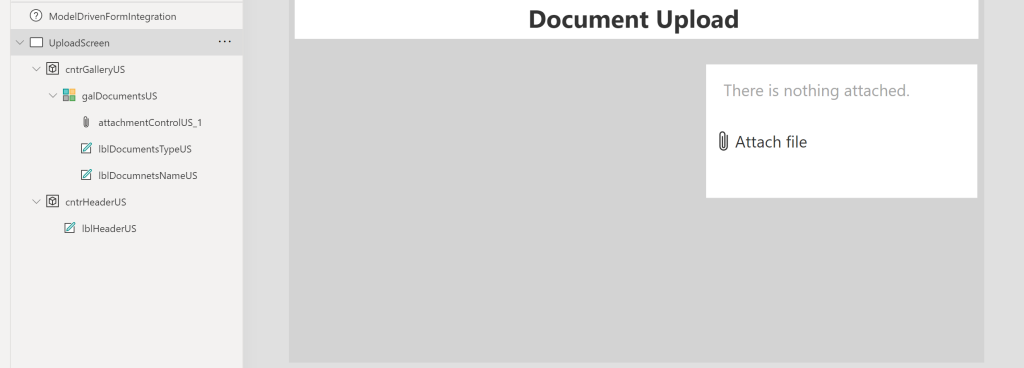
- Change the attachment control to only allow one attachment
In the next guide we will go over how to create the checklist when a new item is created in the MDA.