2/8/2023
The Why
Forms are a pivotal element of the Model Driven App in the Power Platform. They offer the user interface for users to interact with the data, enabling users to enter, view, modify and delete data. Comprehensive instructions on how to use forms in the Model Driven App are available from Microsoft; please refer to Microsoft Documentation for more information.
The Form Designer within the Model Driven App is the main way users can customize the forms. It enables the users to modify the appearance and the behavior of the form. This includes the ability to add different controls like text fields, images, buttons and grids. Additionally, users can also add rules that define the values of fields or control the visibility of fields based on certain conditions. Finally, users can add business processes that define the workflow that the data takes during its lifecycle.
The How
Form creation
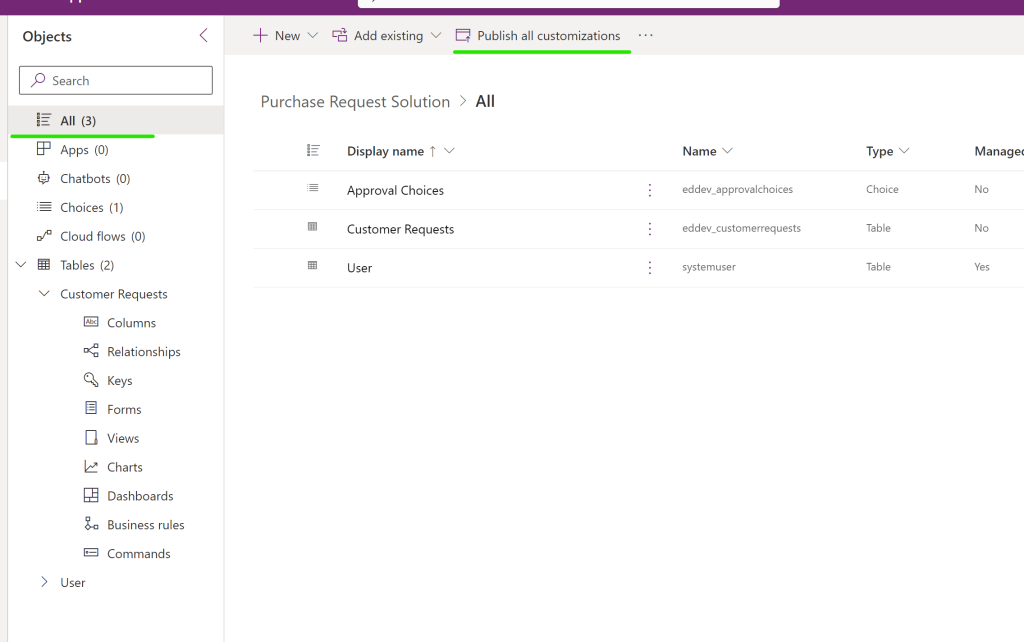
- From the Customer Requests Table, Select Forms, New Form, then Main Form

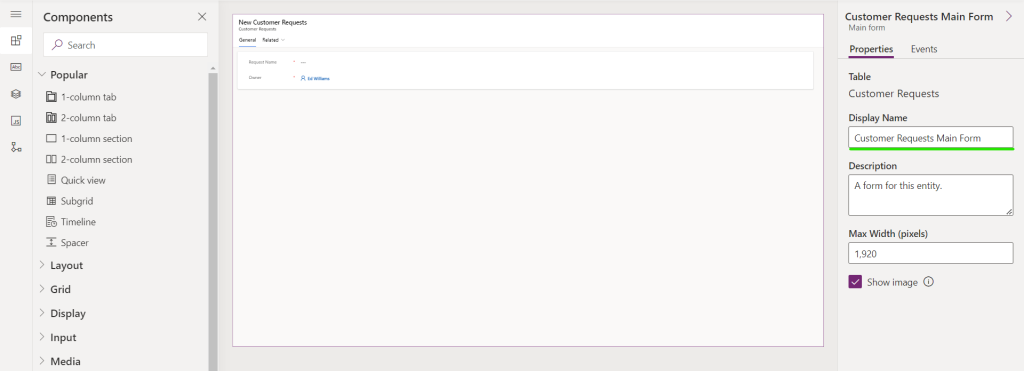
- Give the form a distinct name “Customer Request Main Form”
- Select Save and Publish.
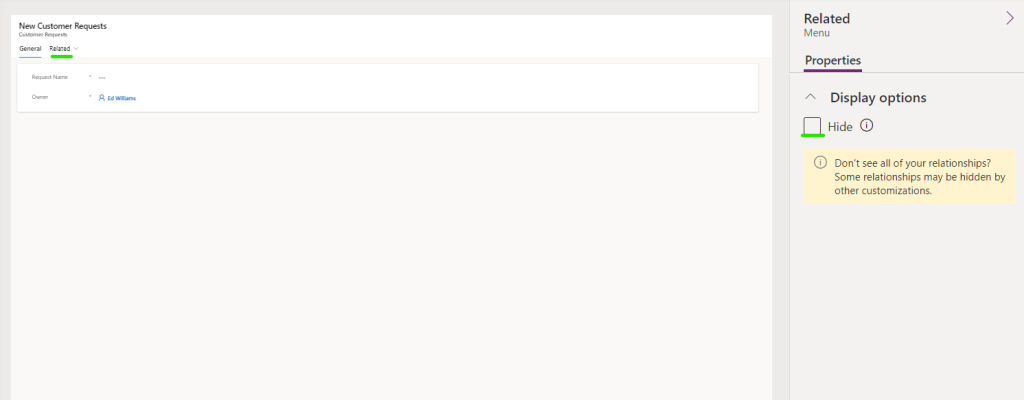
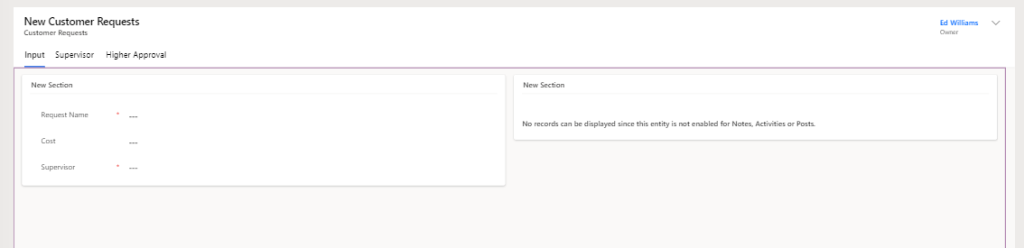
- Select the Related Tab and disable its visibility. This tab is unnecessary for the current project.
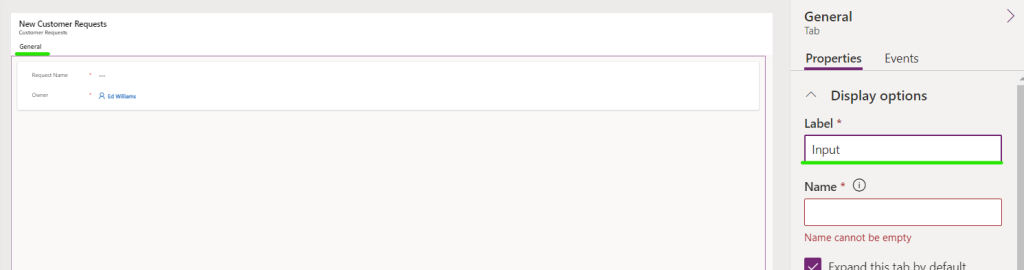
- It is suggested that the tab labeled "General" be renamed "Input" for improved clarity and ease of navigation. Additionally, the Input tab should be reconfigured as a two-column tab.
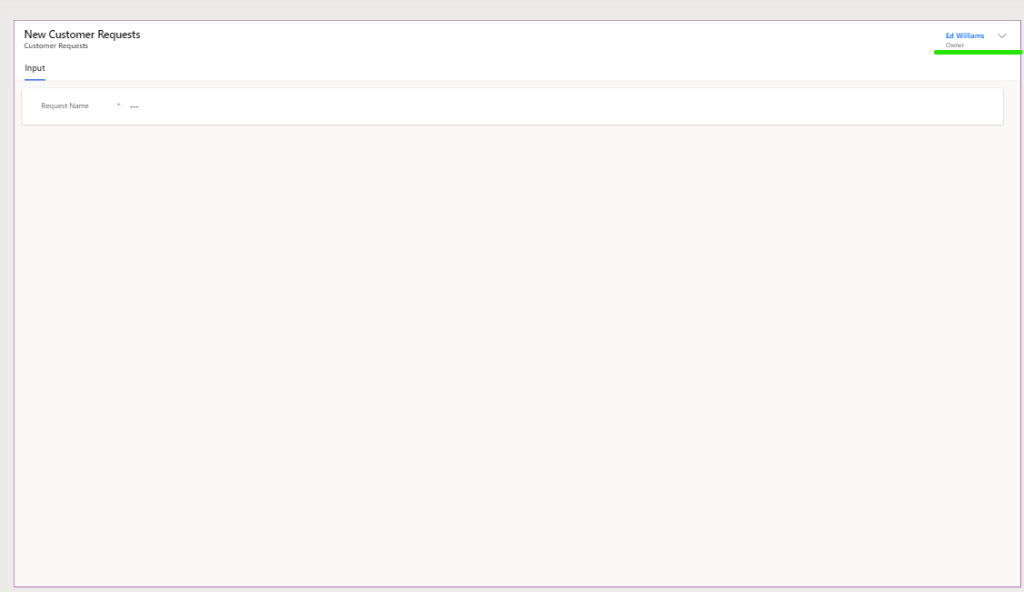
- Move the owner to the upper right hand corner. This is a required column and looks better (IMO) in the upper right

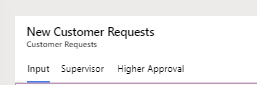
- Add two 2 column tabs next to Input. The first will be for the supervisor and the second will be for Higher Approval
- In the input tab add the Request name, Cost, and Supervisor to the first column and the timeline to the second column
- In the Supervisor tab add the Supervisor and the Supervisor Approval to the first column and the timeline to the second column.

- In the Higher Approval Tab add the Higher Approval to the first column and the timeline to the second.

- Go to each tab and rename/hide the column names as appropriate

- Save and Publish the form
- Press the back button to get back to all the forms.
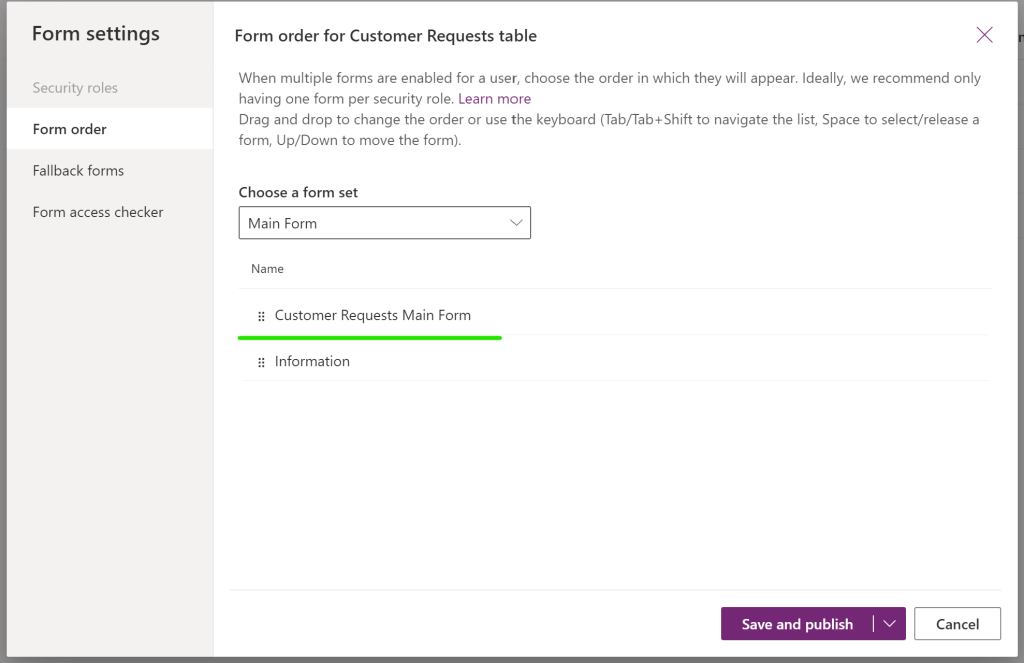
Form Ordering
The next step is to make the custom form you just made and make it the first form that each users sees.
- Before Ordering the forms we will turn off the default Main form. Select the Information Main form, then turn the form off.
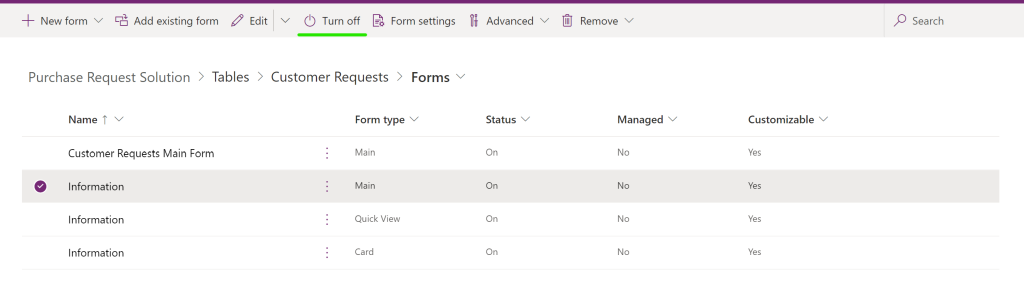
- The Select Form Settings

- Make sure the Customer Requests Main Form is at the top of the list, then press Save and Publish
- Choose "All" and then "Publish all customizations". This will make sure that all modifications are now active.