2/1/2023
The Why
I needed the ability to create a custom text card, I used several text cards and such at first, but the HTML control provided the “richest” experience look. I will be building the card to look like the following.

The colors and the shape will be included within the HTML text.
The reason an HTML card is used is the lack of radius control on text boxes. Within a button the individual corners can be managed, but not in a text card.
The How
In the Power Apps Editor insert a HTML card
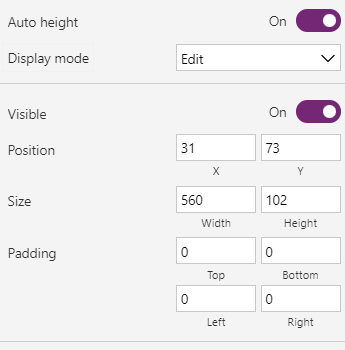
Format the card to suite the setup. Set the Auto Height to True
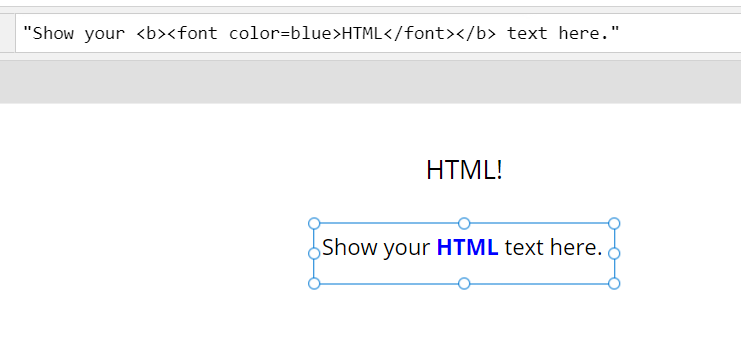
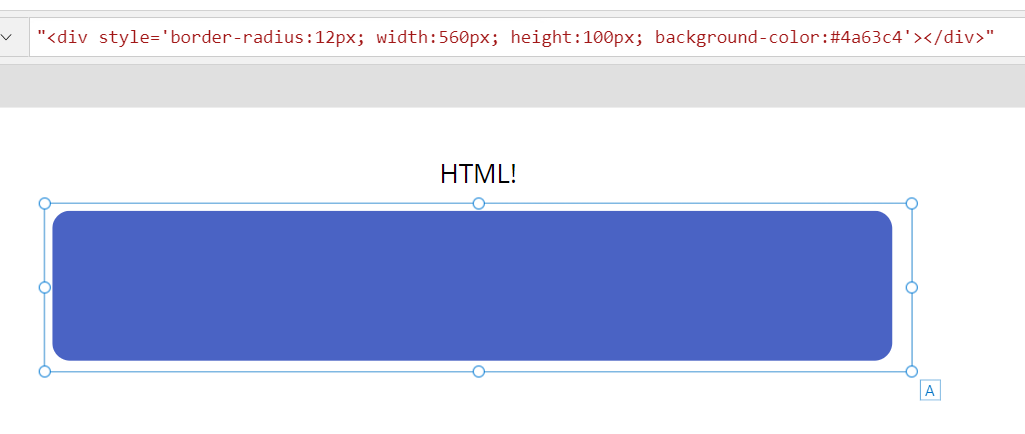
Set the “HTML Text” to
"<div style='border-radius:12px; width:560px; height:100px; background-color:#4a63c4'></div>”
The text box will return the following
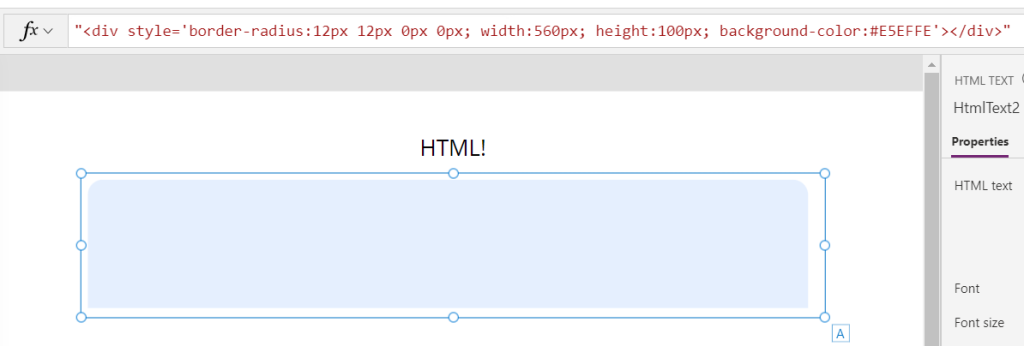
Each corner is addressed from Top-Left, Top-Right, Bottom-Left, Bottom-Right
"<div style='border-radius:12px 12px 0px 0px; width:560px; height:100px; background-color:#4a63c4'></div>”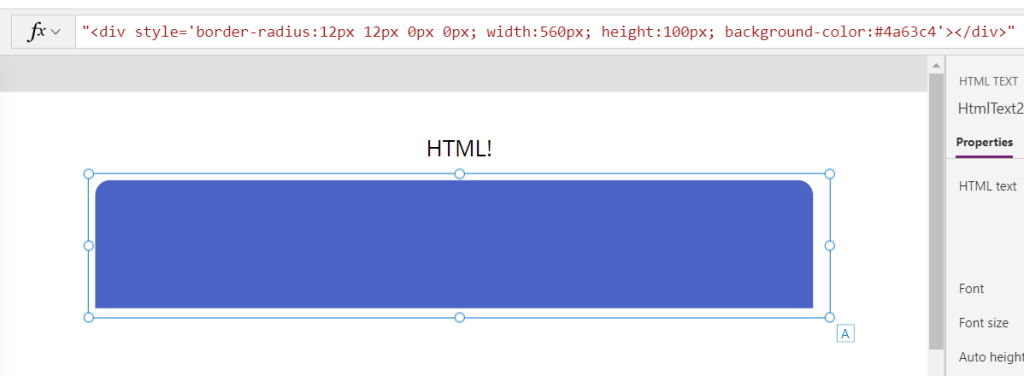
💡 Use your favorite way of selecting the HEX code of choice. The following example uses Power Toys Color Picker for simplicity.
💡 If you ever have issues copying and pasting the HTML code into the workspace, simply delete the last “ and then re add it.
Setting the opacity is a set using the opacity tag.
"<div style='border-radius:12px 12px 0px 0px; width:560px; height:100px; background-color:#E5EFFE; opacity: 0.5'></div>”However for this project opacity will not be used.
"<div style='border-radius:12px 12px 0px 0px; width:560px; height:100px; background-color:#E5EFFE'></div>”